Home » BLOG » outfitting

Tag: outfitting

A Necessary Galley Upgrade

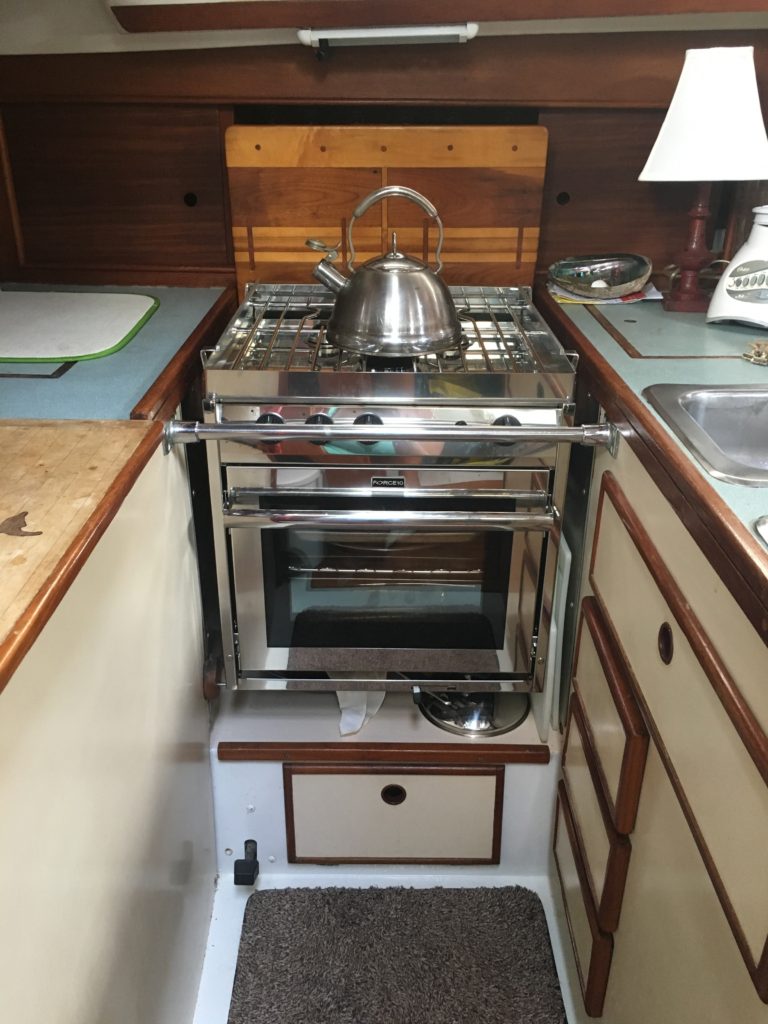
A very LONG overdue galley project finally got completed this week! Though it cost us nearly $2000 it was a necessary purchase. Our stove/oven had slowly become unusable over the last several years and we finally bit the bullet and replaced it!

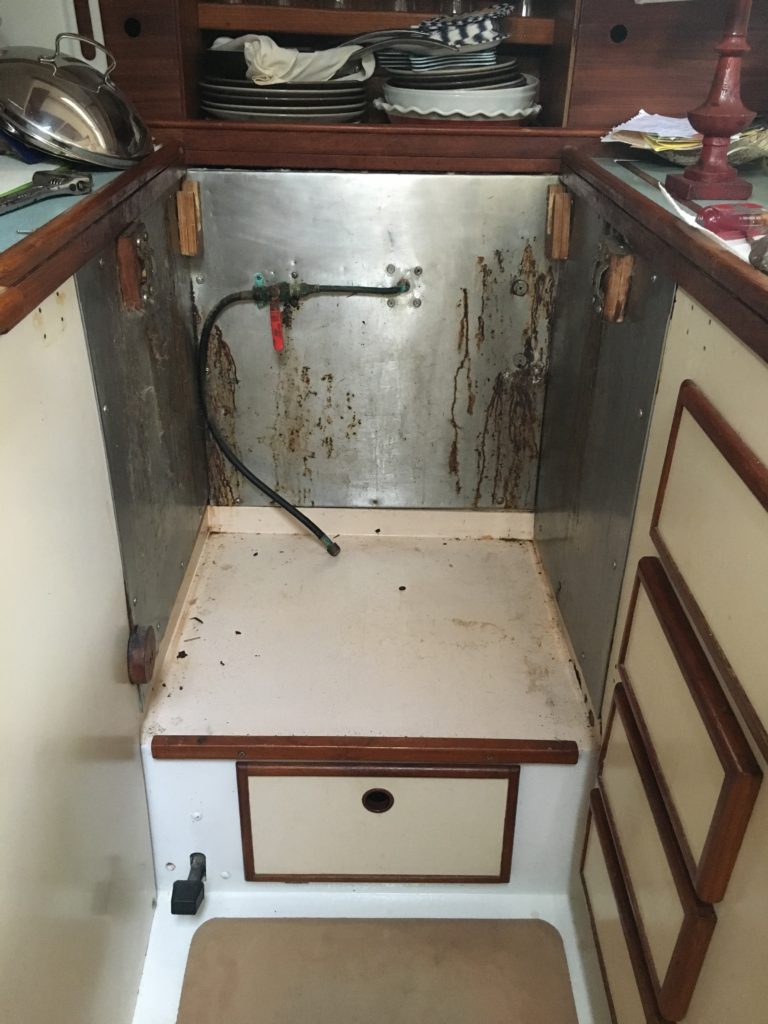
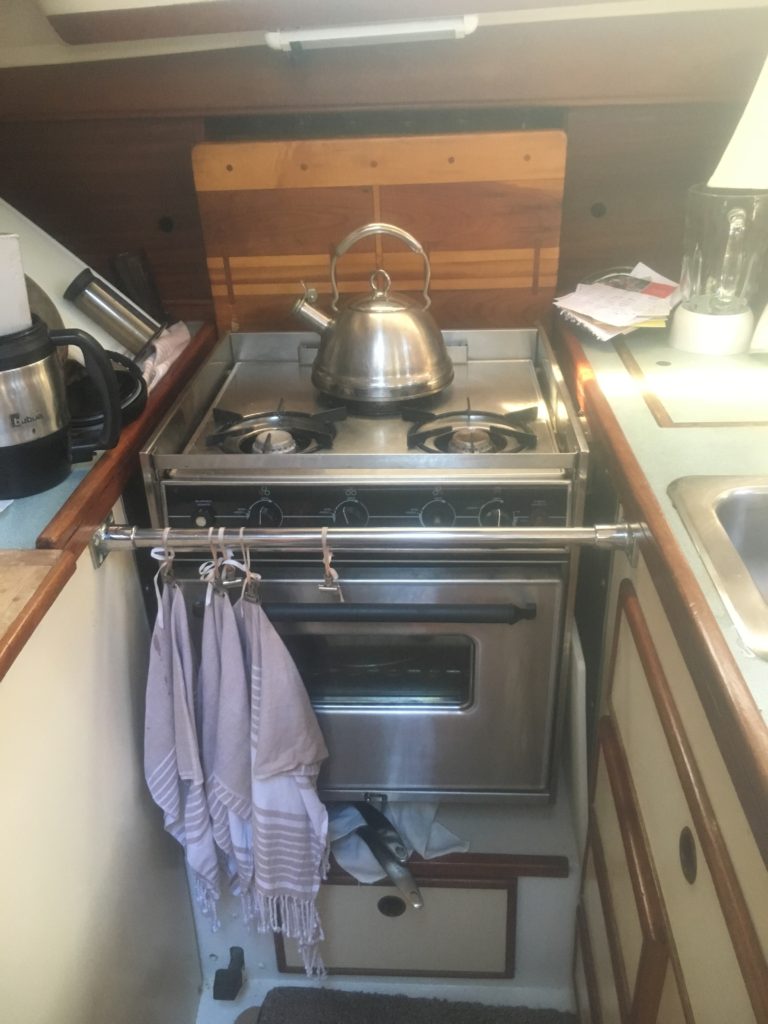
Our old stove was a Seward Princess – a brand that is not manufactured anymore. While I liked the setup, it was just plain dangerous to use anymore.  For starters, the oven door busted on one side so it would not close all the way. It never really got very hot to begin with but when a good portion of the heat began to escape right out the front it was hardly helpful and took forever to bake anything.

Next, the front right burner was completely seized up. I guess the valves on these units eventually get all gummed up inside and its nearly impossible to clean or service them. The knob just wouldn’t turn at all.

The middle burner in the back would not stay lit unless I stood there and held in the knob for a minimum of 10 minutes after lighting it. At which time, the temperature could not be reduced to low heat, meaning I had to carefully decide what I was going to cook on that burner knowing it could only be done at high heat and I might not have an extra hand to stir anything else. Most likely, the thermo-coupler was shot, preventing it from getting hot enough to stay lit on its own. Total pain in the a$$ so I just didn’t use that burner anymore either.

The right front burner was the only one I had been able to use but it was most definitely on it’s way out too. The flame would ALWAYS blow out the first two times, requiring me to stand there and light it a total of three times. It wasn’t bad propane or a lack of oxygen, it just wouldn’t stay lit unless I did it three times. Weird. But that’s not all.  If I was using the oven at the same time, the knobs on the front of the stove would get so warm that they would stick (just like the first burner). This was particularly scary when cooking if I couldn’t shut off the frickin flame. It’s a small space to begin with and if I’m cooking up a storm then there is definitely not room to have an open flame just burning away! Shut off then required me to be done using the oven because I’d have to turn off the propane solenoid on the wall, which stopped the flow of propane, but then I had to wait for the whole unit to cool off before I could turn the stove knob back to “off” position. Yep total P.I.T.A.  And so very unsafe.

R.I.P. old girl…

It was probably meant to be… I had Peter verify my measurements of the space allowance we had compared to the new stoves available in the Budget Marine catalog.  We decided on the American version of the 3-burner Force 10 – a very popular brand and model. It was a product that the chandlery here on Tortola at Nanny Cay either carried or could order in with their regular shipments.  On our next trip past Nanny Cay we stopped in to replace our leaking BBQ propane tank (yep, more money spent on necessary upgrades). While locating the new tank we inquired about the specific part number we wanted to order since we didn’t see any three-burners on the floor.  Turns out, the very model number we wanted WAS right there in the store, on the display floor, packed nicely in it’original box!! I was sold. It was right there all along, concealed from everyone else, we just had to ask and their system told us it was right there. Perfect.

We were disappointed that the pricing had gone up since the chandlery there was no longer operating as Budget Marine but it didn’t matter. It was not economically feasible for us to try to sail our boat all the way to St. Thomas on the off chance that Peter may get a consecutive three days in a row off work. Maybe if I wasn’t 8 months pregnant, but we agreed it was just better to spend a little extra and get one that was already imported into BVI. All we had to do was load it in the car, into the dinghy and into our boat.

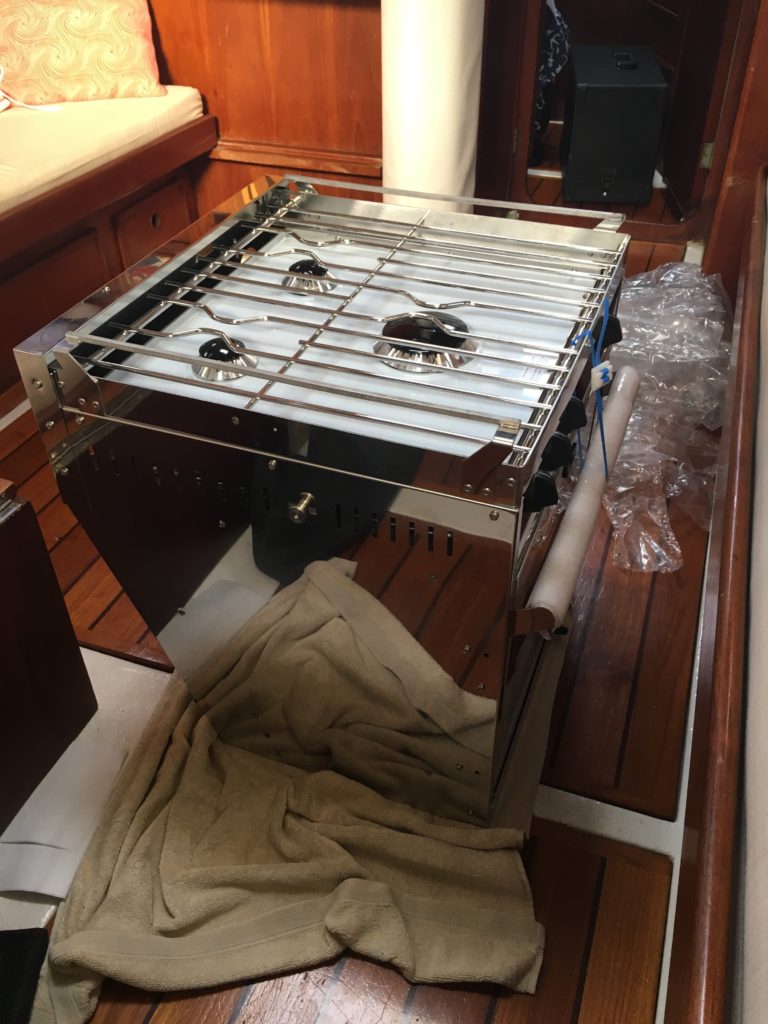
Luckily, our friend Mike from Three Sheets was available to help Peter with the awkward lifting. It was only about 85 lbs but still rather large and definitely a two-man job for getting it into our boat. Even our friend Branson came to help lift the new one up and through our companionway.  Such sweet guys to help a pregnant lady out ;) The old one was much easier to get it out.

It took quite a bit of cleaning once the old unit was out. Messes are nearly impossible to avoid once these suckers are installed.

While the guys hauled the old one out, I started unpacking the new one :) It’s so SHINY!! Probably the shiniest thing we have on our boat now!

Now what do I want to bake first? :)


DIY Salon Cushions

SAILRITE cushions-30

Have you been staring at the cushions in your home with a procrastinating desire to have them reupholstered? Well, I’m here to give you a little hope and a little inspiration to kickstart your very own DIY cushion sewing project!

You may remember the recent post I did about how to make easy and very cheap DIY throw pillows. It was my first real sewing project since 8th grade Home-Ec, believe it or not! I was more than intimidated but I overcame my fears quickly and I couldn’t be happier with the way they turned out.

That project was what I needed to start on redoing my salon cushions inside our tiny floating home.

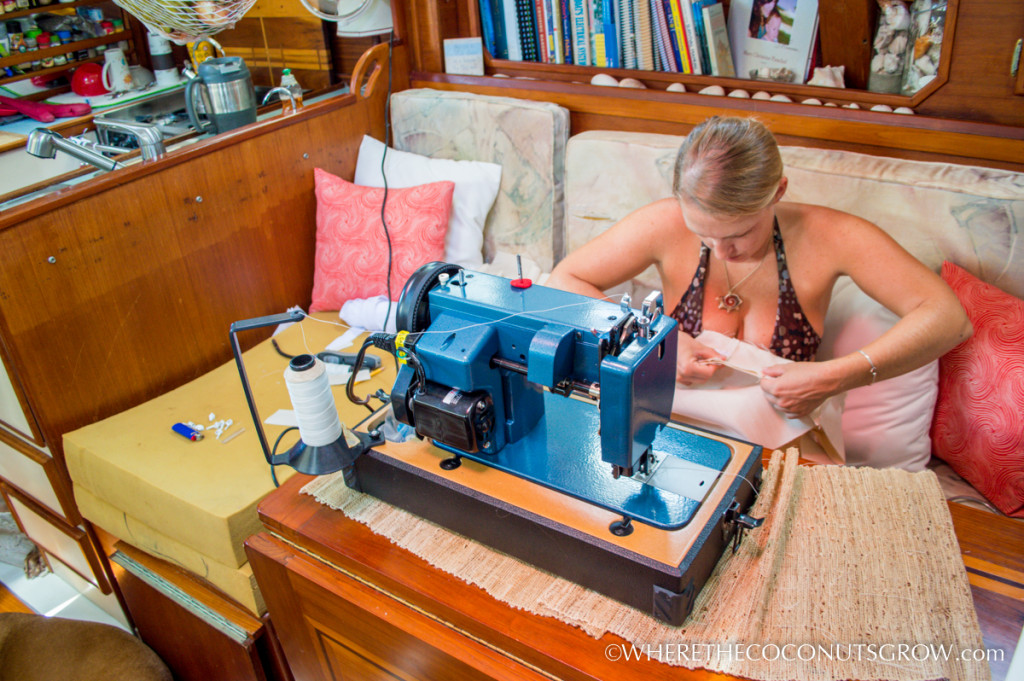
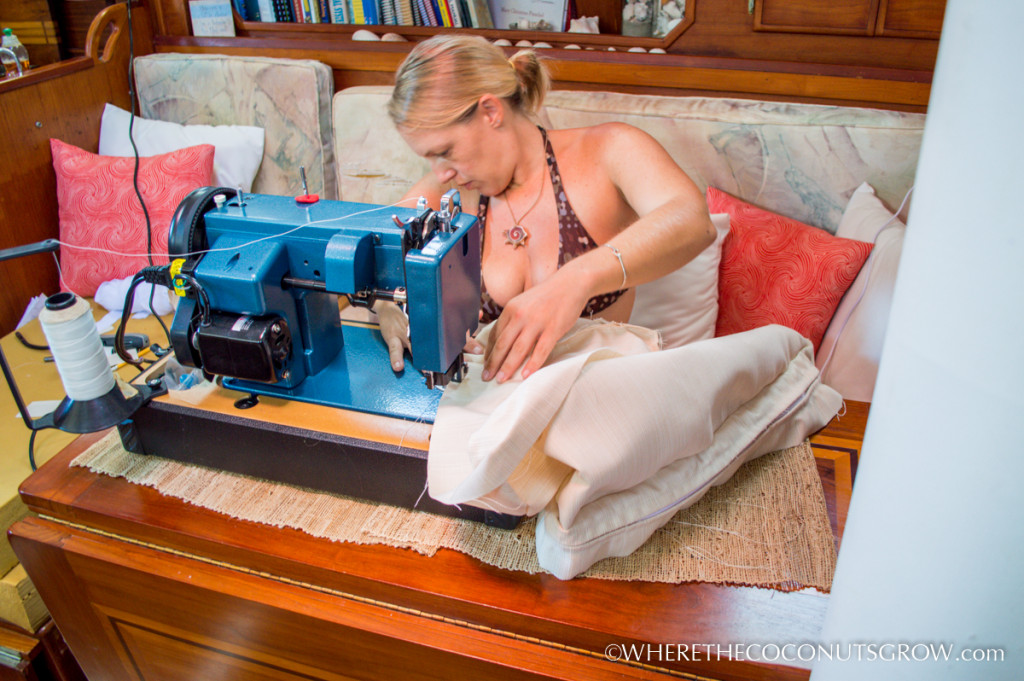
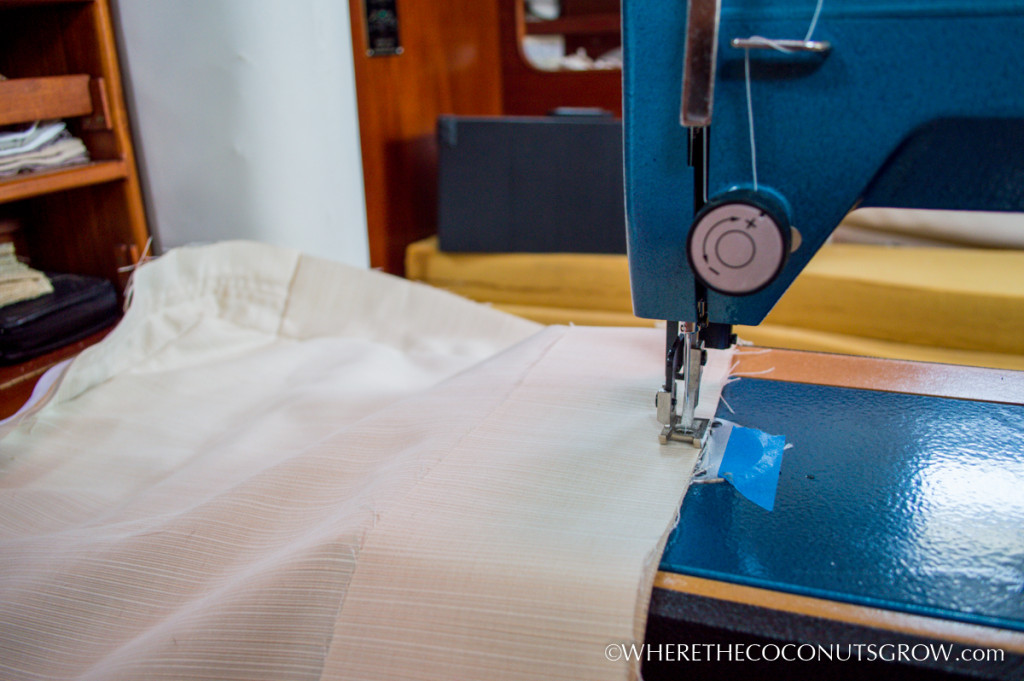
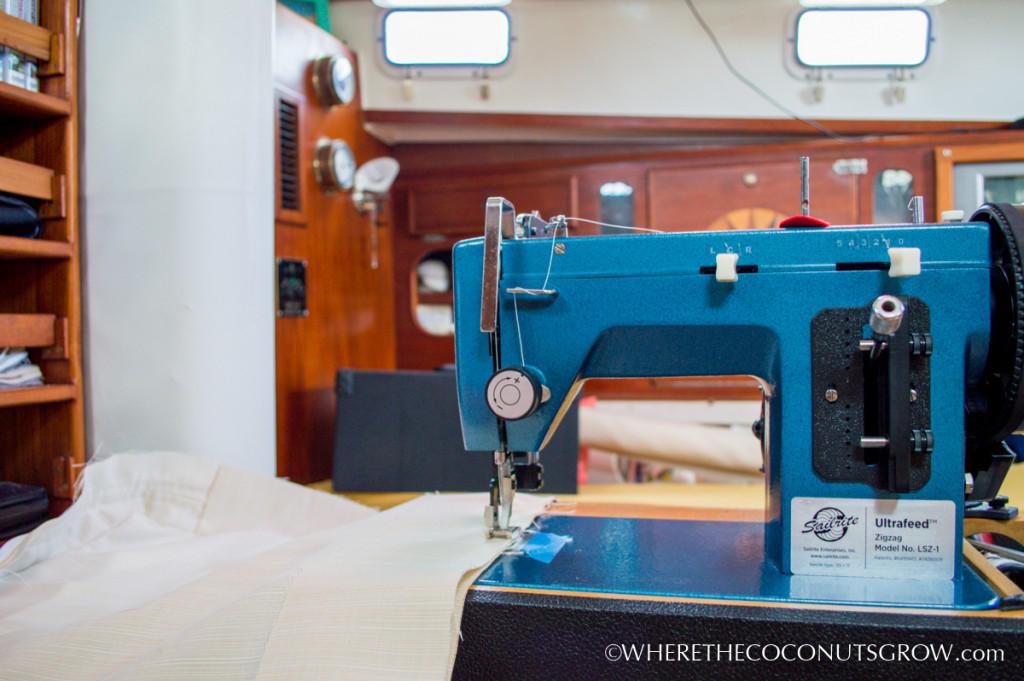
Let me just say that this project only became a reality thanks to the free how-to videos that Sailrite has on their website. I sat down and watched several of the videos on cushions over and over again before I finally felt confident enough to know how to even begin. I really had no idea what I was doing but these videos walked me through each and every step of the way. I used my new Ultrafeed LSZ-1 Sewing Machine and it was very helpful to see them use this same machine in the videos. The machine works like a dream and can handle straight stich or zig-zag through many layers of Sunbrella or sail material. The primary purpose I chose that machine was to be able to do my own sail repairs, because they will no doubt need repairing eventually. The cool thing is that I can practice using the machine on projects like this which help give my home a makeover but also help me to be more proficient using the machine before my sails are damaged and I really need to know how to use it.

THE FABRIC:

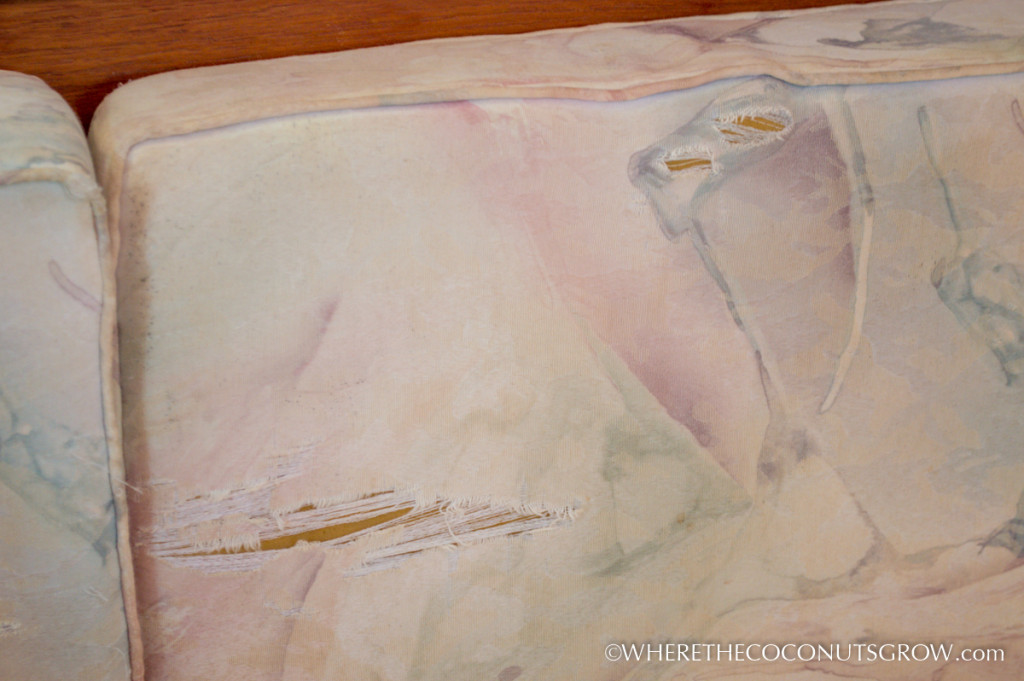
The fabric I was replacing was regular upholstery fabric, a typical fabric used for cushions. It took us less than two years to destroy them, however, living in a marine environment with two large dogs. Gunner, the Weimaraner, loves to dig himself a perfect little place to lay down and we have caught him many times clawing at the fabric when we weren’t looking. It’s nothing new. He’s done it for all 14 years of his life and he’s real sneaky about it. Nonetheless, the old fabric was ruined. I wasn’t crazy about the pattern anyway and I had always intended on changing it out but it took me two long years to finally muster up the confidence to attempt a project like this.

I knew I wanted to use Sunbrella outdoor fabric. It’s extremely durable and will last much longer than regular indoor fabric. It’s more expensive but the trade off was worth it to me. I had first caught a glimpse of Sunbrella’s Dupione line of fabric on my friend and master seamstress, Linda’s, boat. I fell in love immediately and knew I had to have it too. At $24 a yard I had to really love it!!

Here’s the craziest part… I wanted the lightest color they made. Am I freaking crazy?! Maybe a little.

I know, I know… light fabric with dogs, or kids, is a bad idea. “It will never stay clean,” they all say. Way to rain on my parade! But I wanted the Sunbrella Dupione in Pearl, and that’s what I decided on. It was going to match my new color scheme perfectly! The texture is both soft and luxurious, yet extremely durable and water resistant. I’ll just wash the cushion covers when they need to be washed :) The best part is that Sunbrella fabric is amazing at repelling liquid and preventing stains. After time the water repellency will eventually be reduced but for now it’s hard to even get the fabric to absorb enough water to be washed at all.

Fast forward to project completion… Gunner has already puked on the new cushions and it came right off with just a few paper towels and baby wipes! For little stains, baby wipes work great to bring them right up. For big messes, I made sure to install zippers to easily remove them for washing. I don’t let the dogs lay on the cushions as much as I used to, but a vacuum or lint roller takes care of the dog hair easily.

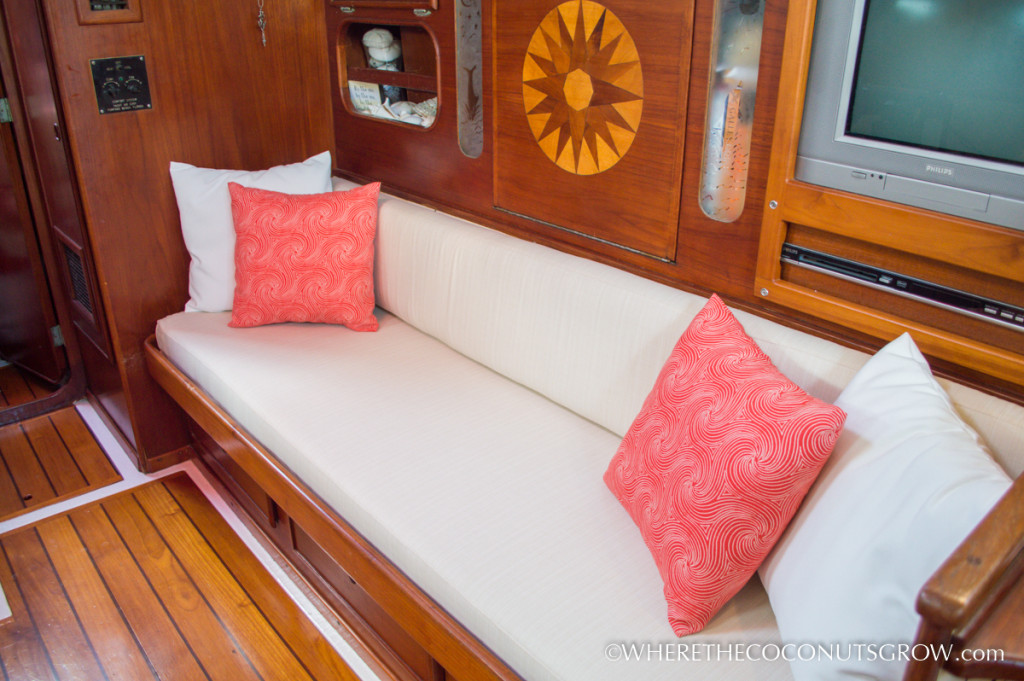
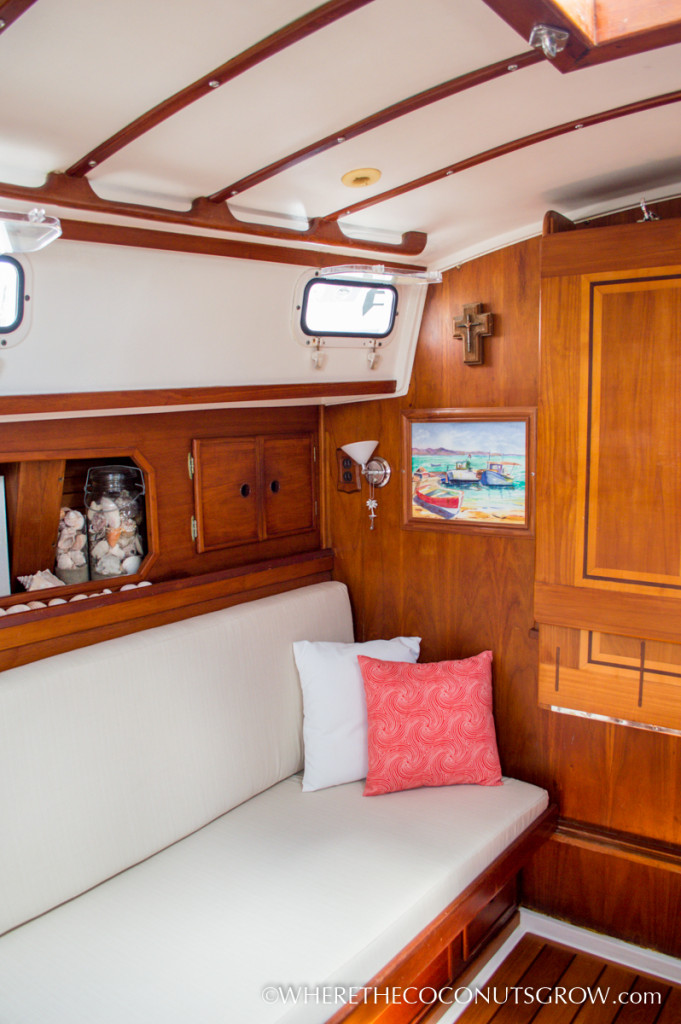
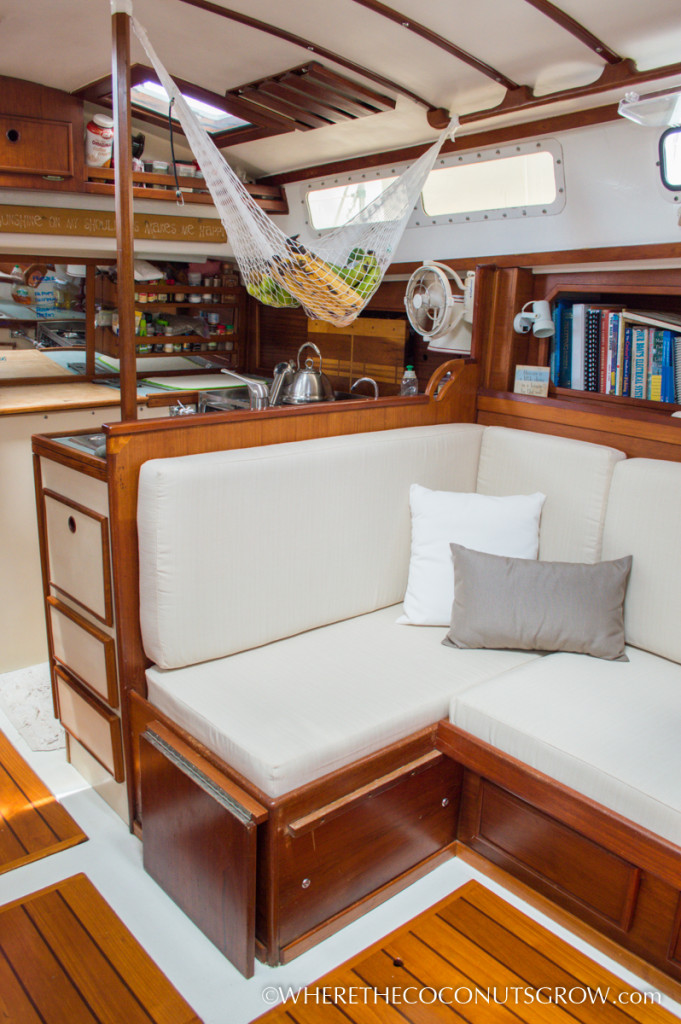
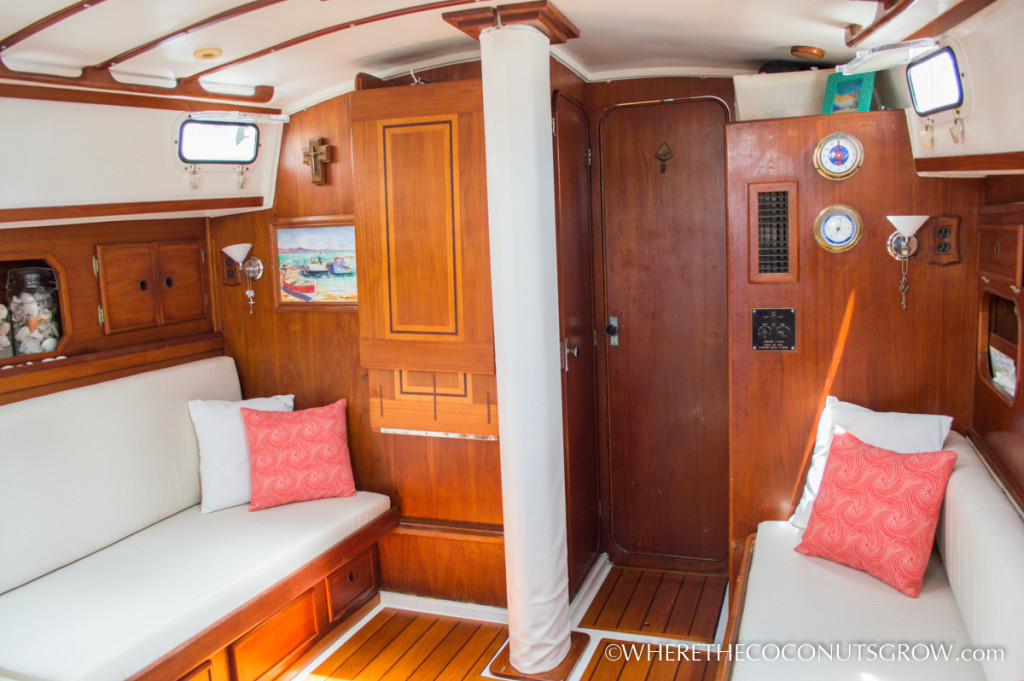
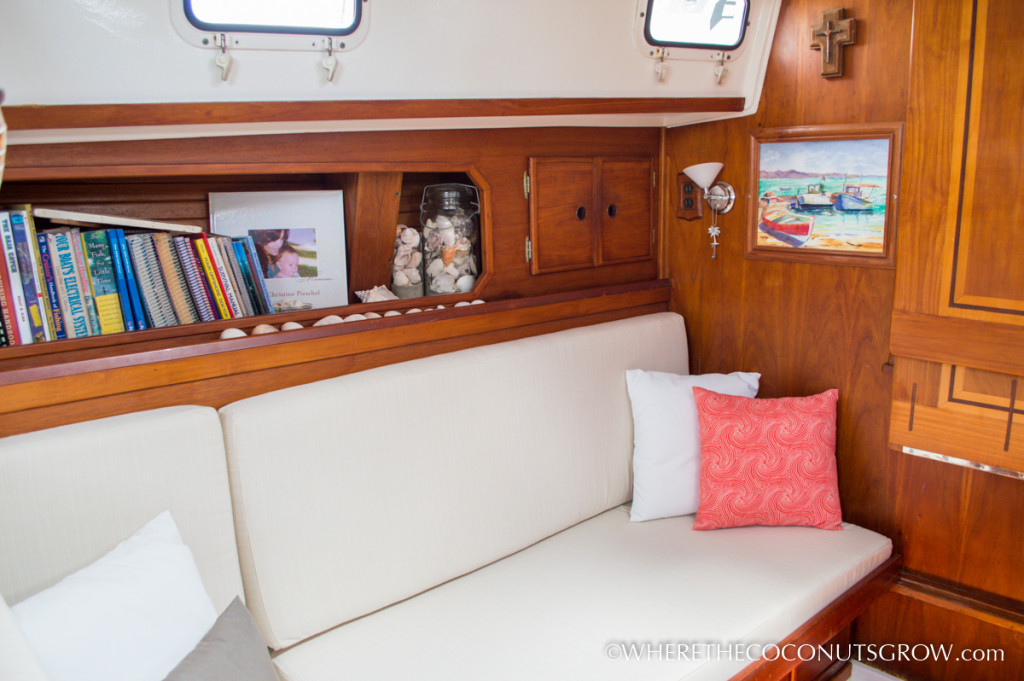
I don’t regret my color choice for one second. You’ll see in the photos below how light and bright it makes the whole room and that was really important to me. I’ve seen so many dark boats. Dark interiors just make it feel so much like a boat, not cozy at all. I like to feel cozy. This is my home. I absolutely LOVE my home :)

PATTERNING:

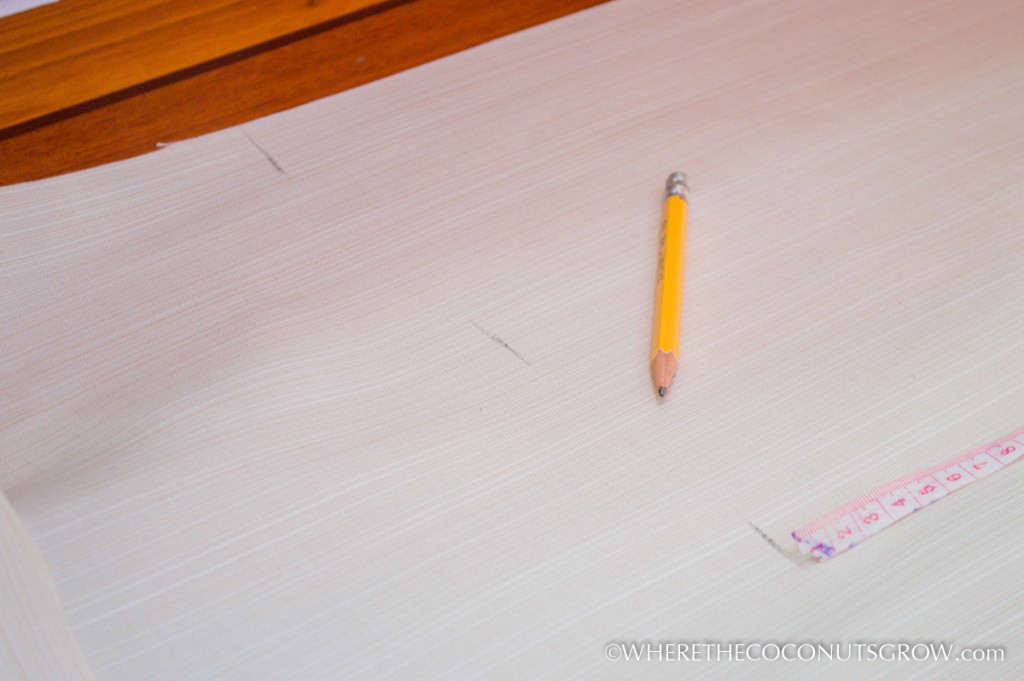
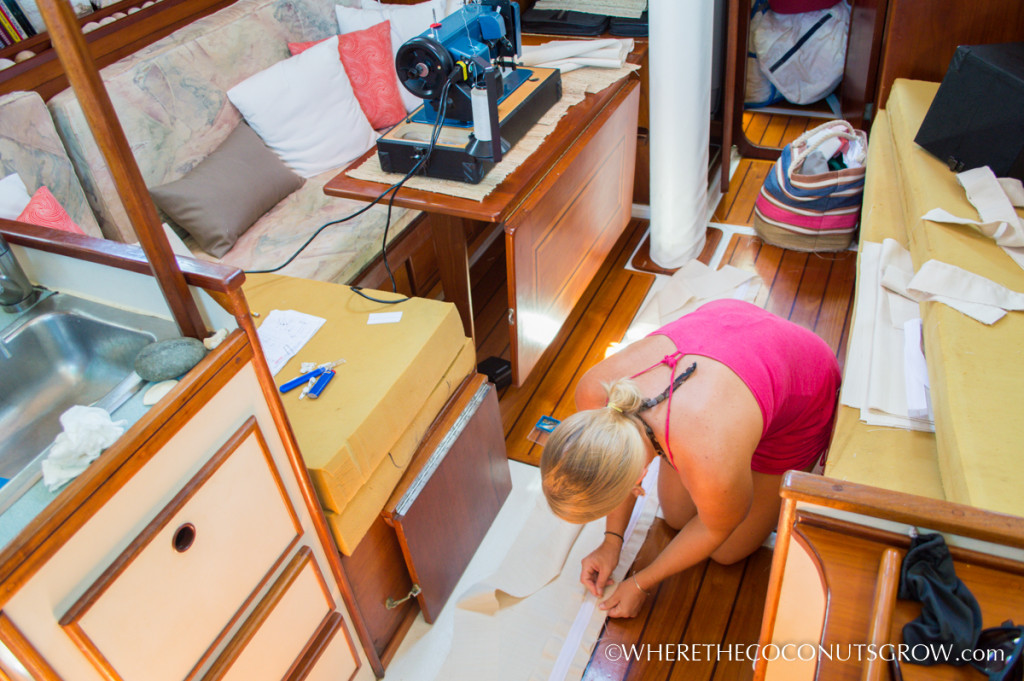
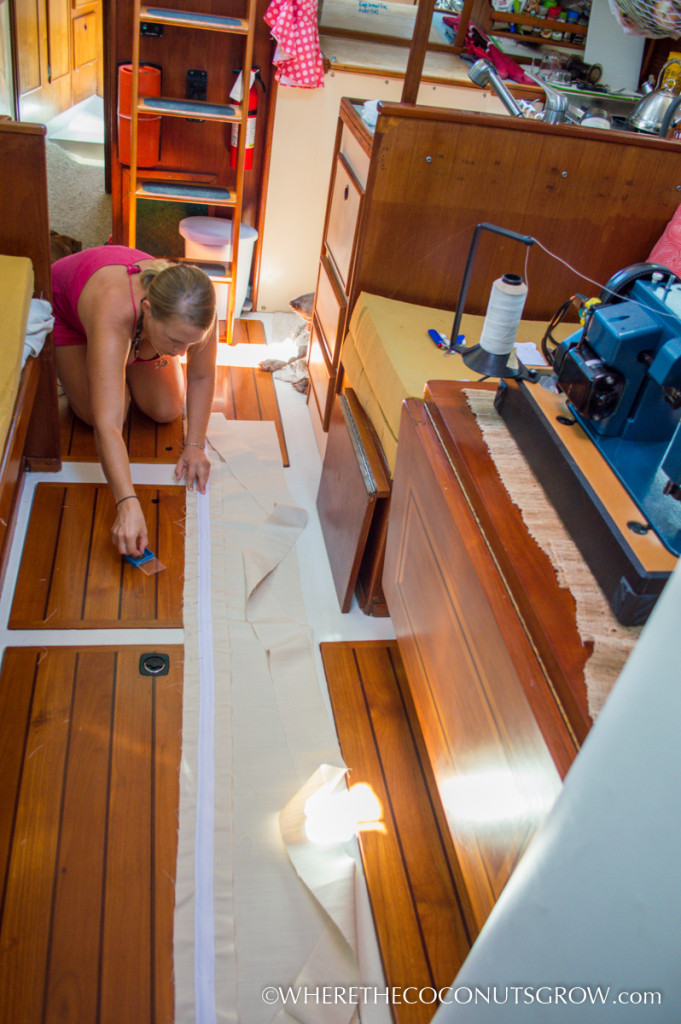
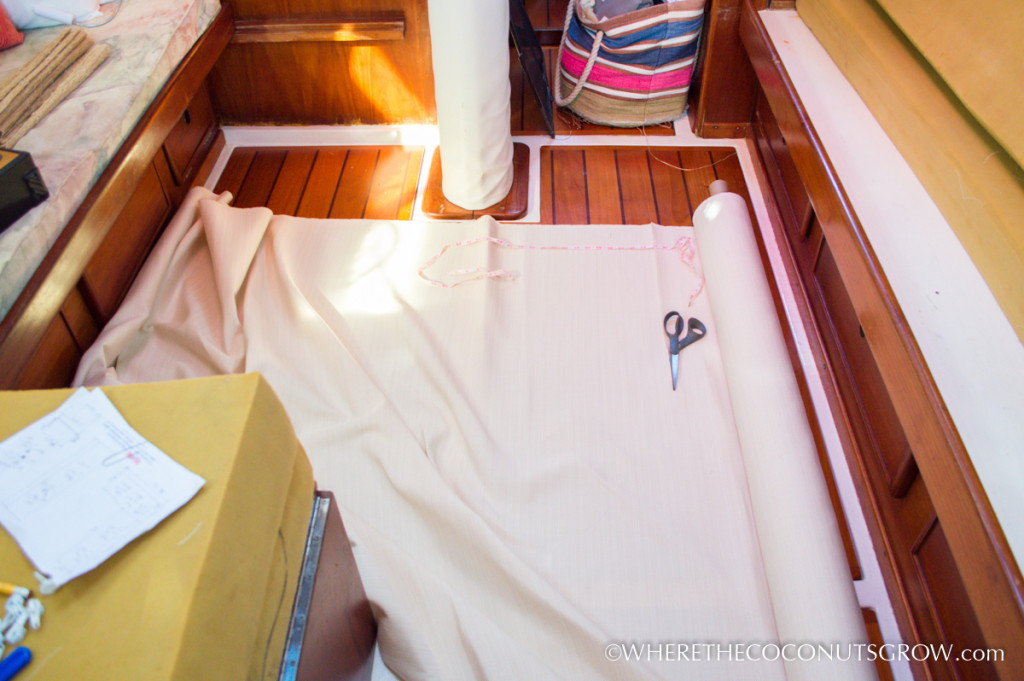
I had done all the measurements awhile back and ordered enough fabric for the salon cushions and all of my new throw pillows. I used the super helpful Fabric Calculator from Sailrite’s website to estimate how much I would need and I ended up with plenty to spare. Making a pattern from the existing foam was a bit tricky to do inside my 42′ sailboat. I traced when I could, measured, marked with pencil, turned the fabric in different directions and carefully cut each piece to an exact fit.
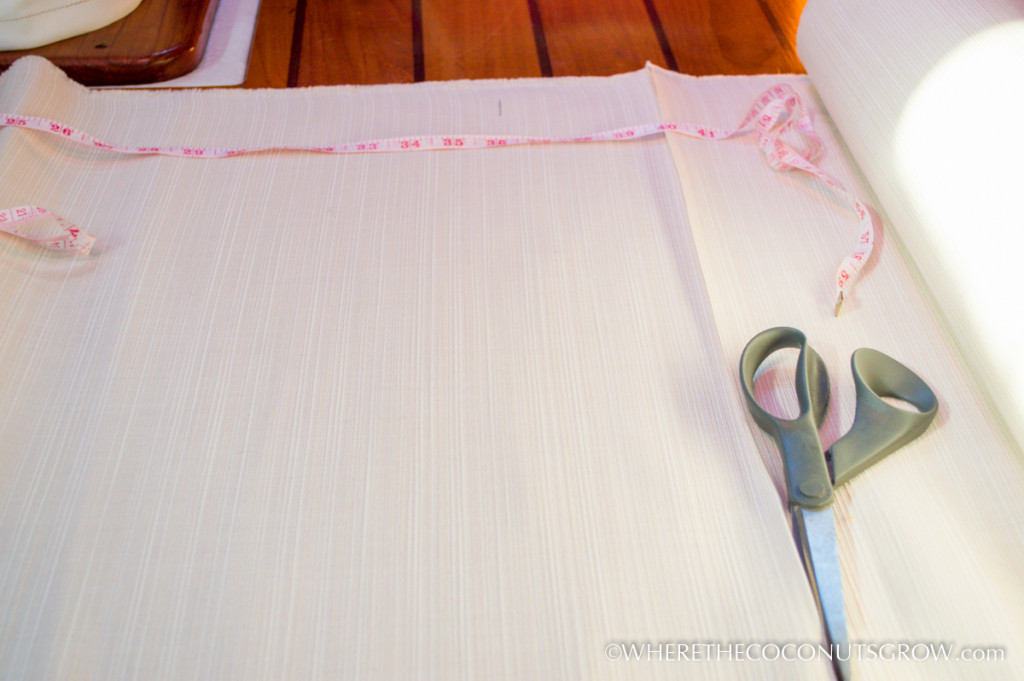
SAILRITE cushions-2 SAILRITE cushions-3 SAILRITE cushions-4

This is as much space as I had to work with while trying to get my exact measurements, tracing around the foam:
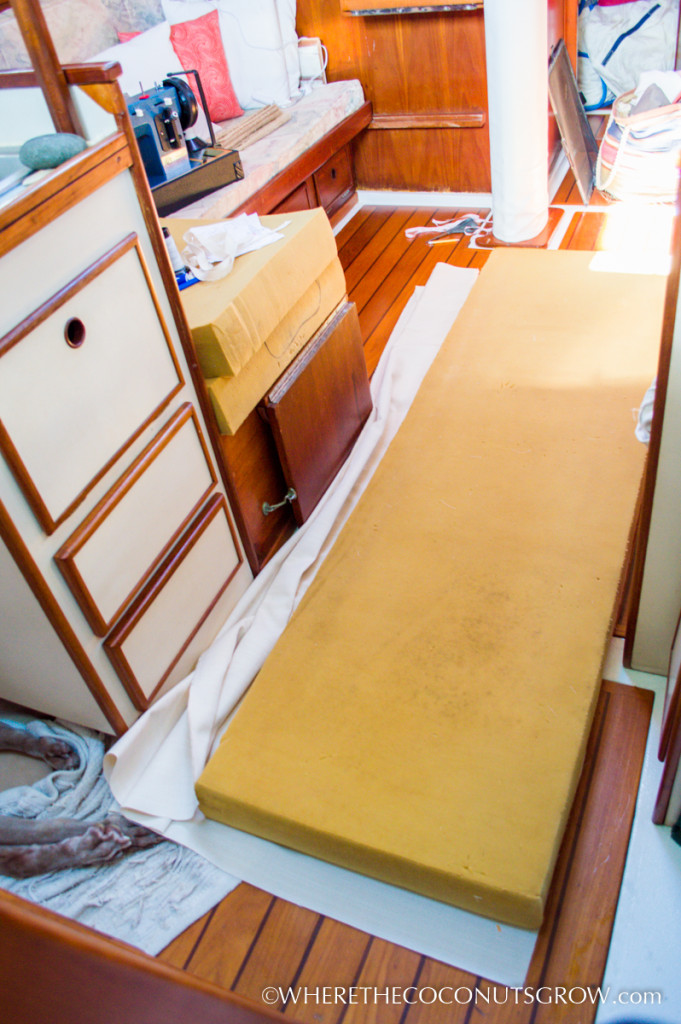
SAILRITE cushions-5

I laid each fabric plate on top of the foam after I cut it to make sure it was close enough.
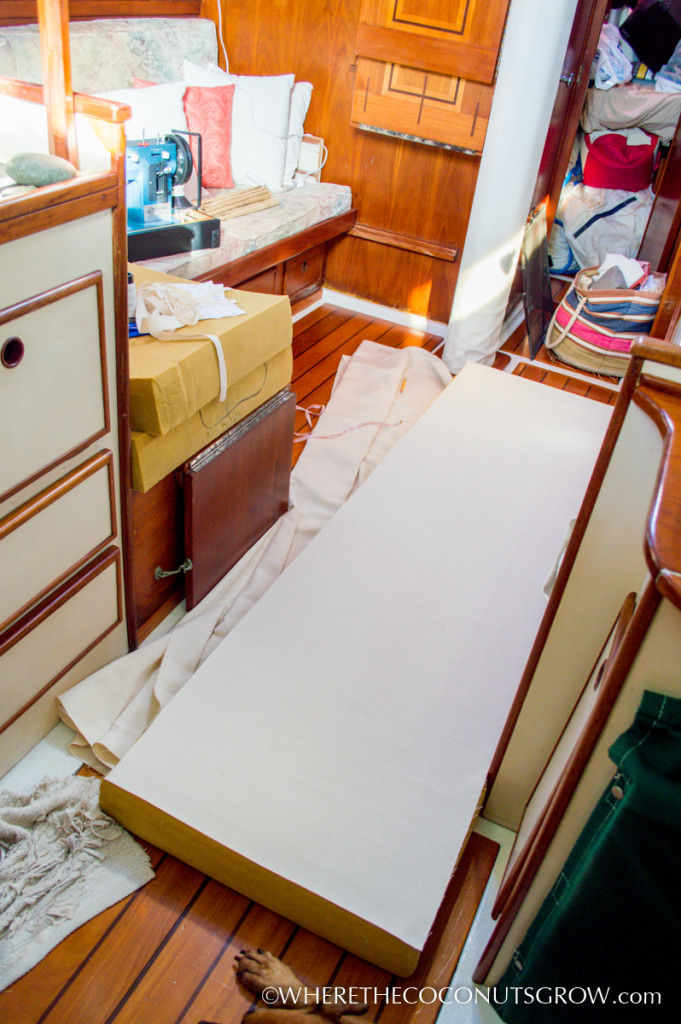
SAILRITE cushions-6

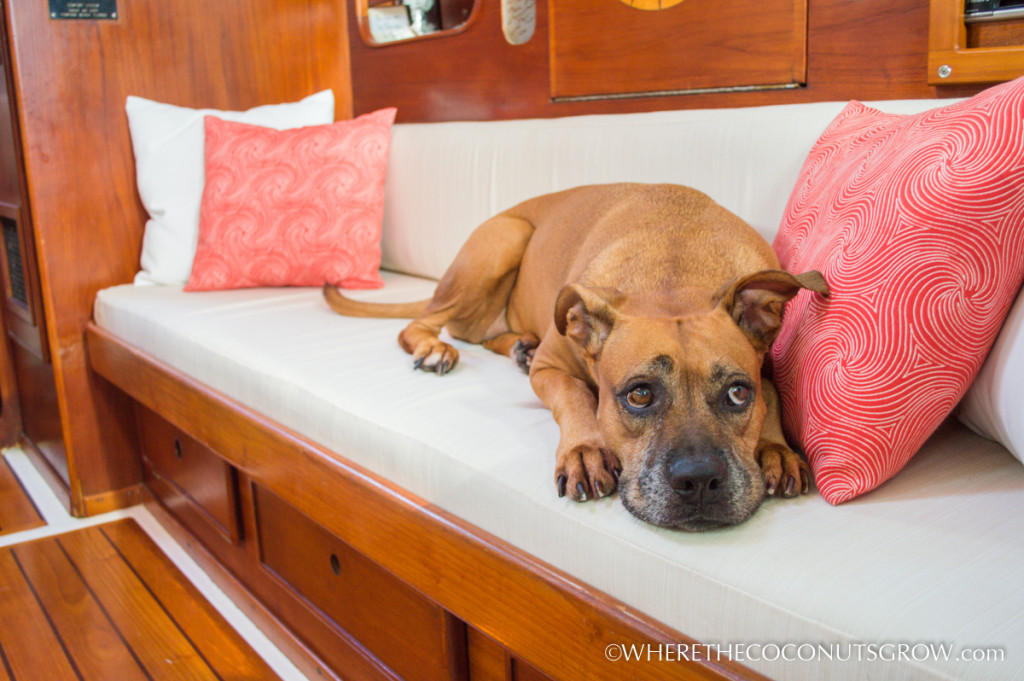
Gunner and Betsy LOVE to lay close by when I am working on projects on the floor.
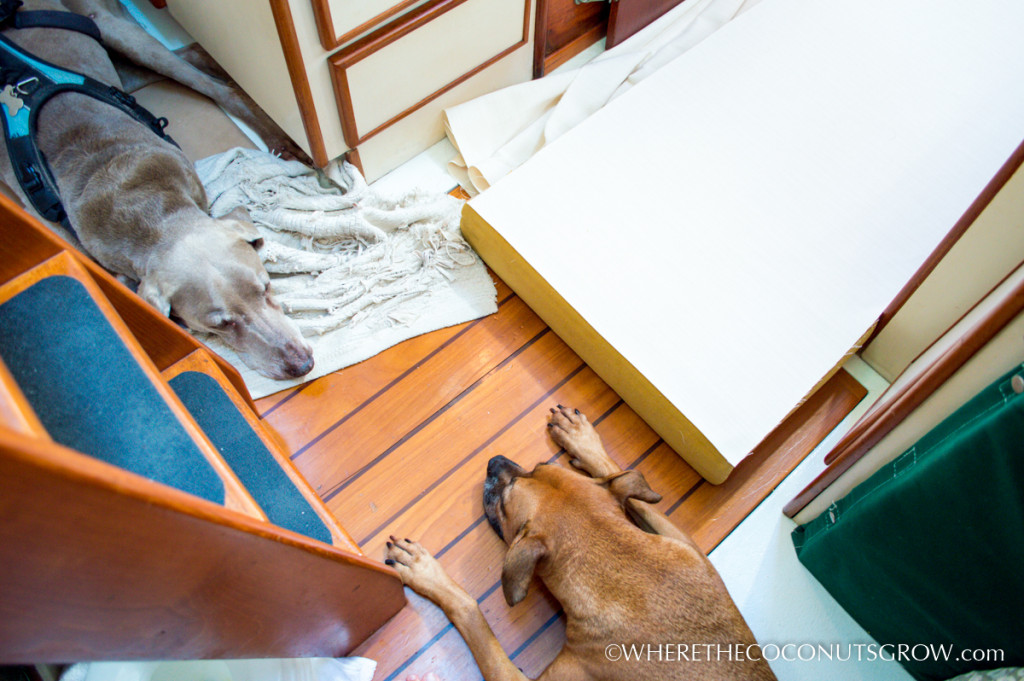
SAILRITE cushions-7

ADDING PINS:

With such long zipper plaques, I found it helpful to pin the zipper plaque to the top plate starting in the center to make sure it was stretched evenly. Zippers always tend to pucker while being sewn so it’s important to pull it taught while working with it.
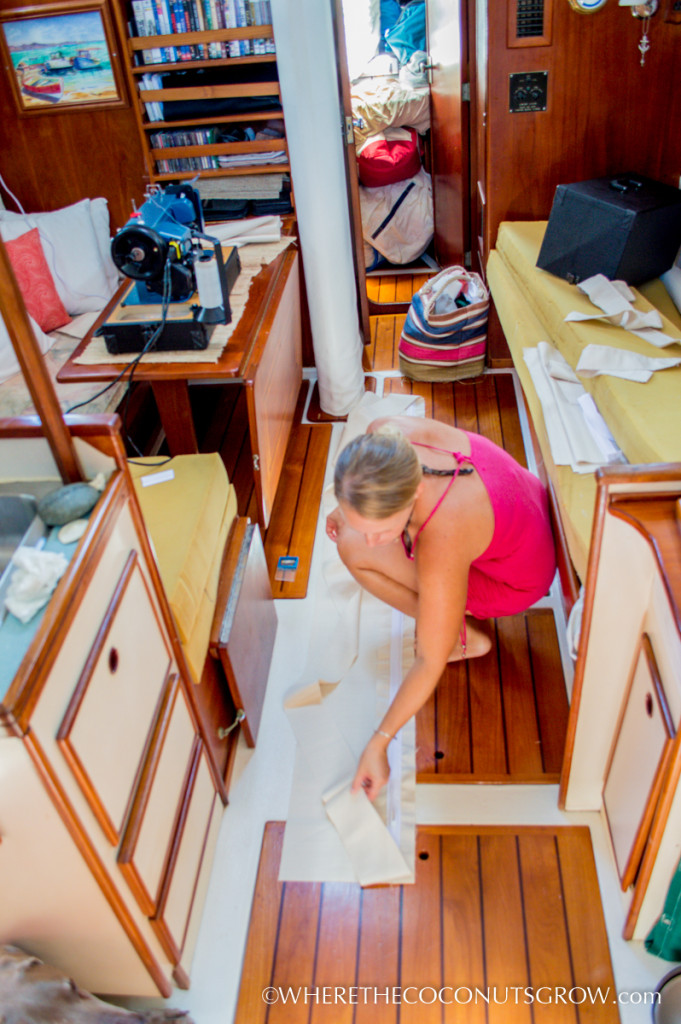
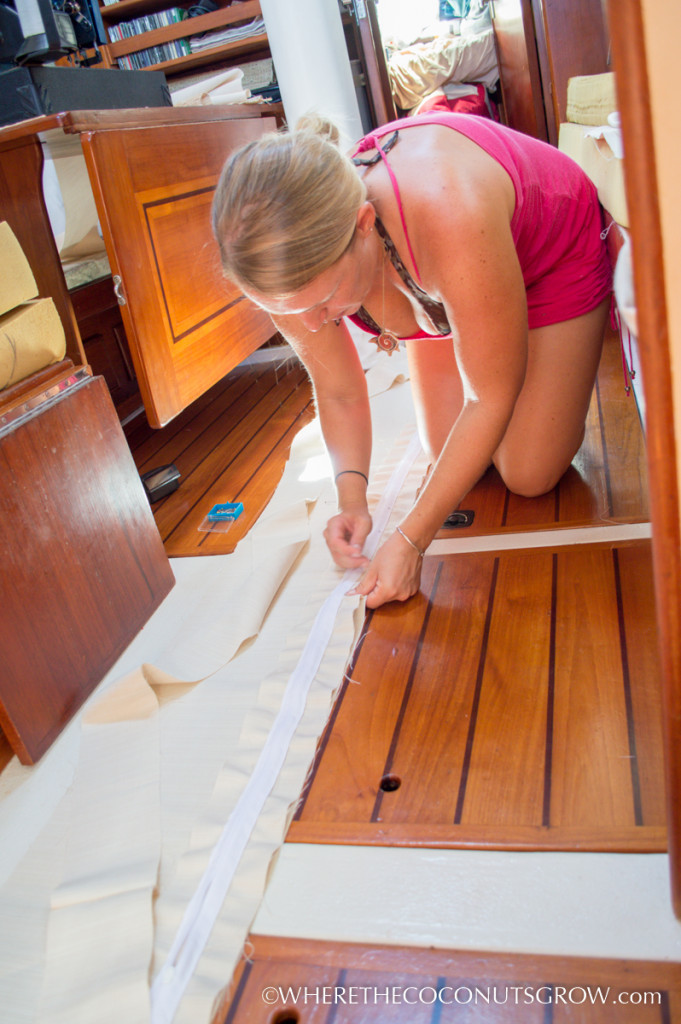
SAILRITE cushions-8 SAILRITE cushions-9 SAILRITE cushions-10 SAILRITE cushions-11

ASSEMBLING AND SEWING:

SAILRITE cushions-13 SAILRITE cushions-14

I did about two cushions per day, taking my time to make sure I didn’t screw up too bad. It’s important to note that I’m the only one that notices the mistakes I did make. Half way through I realized it’s not worth stressing over making it perfect and in the end they turned out far better than I could have ever hoped for.
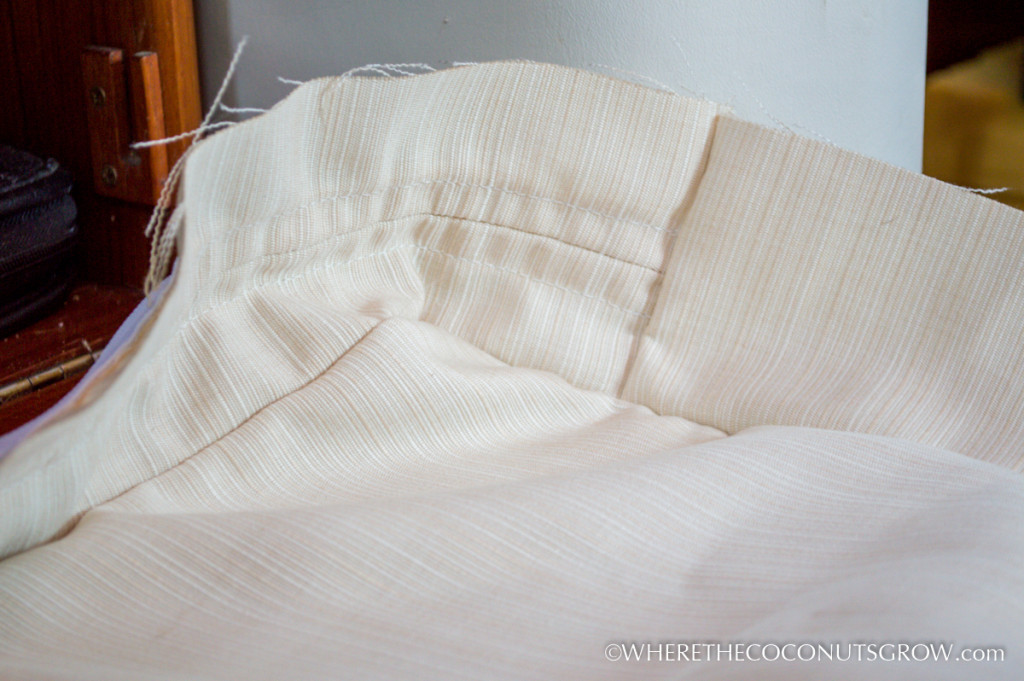
SAILRITE cushions-15 SAILRITE cushions-16 SAILRITE cushions-17

I used #5 coil, non-locking, white zippers. I only forgot to install the zipper pull before stitching the zipper plaque shut one time, but luckily I caught it right away and broke out the seam ripper to fix my mistake.
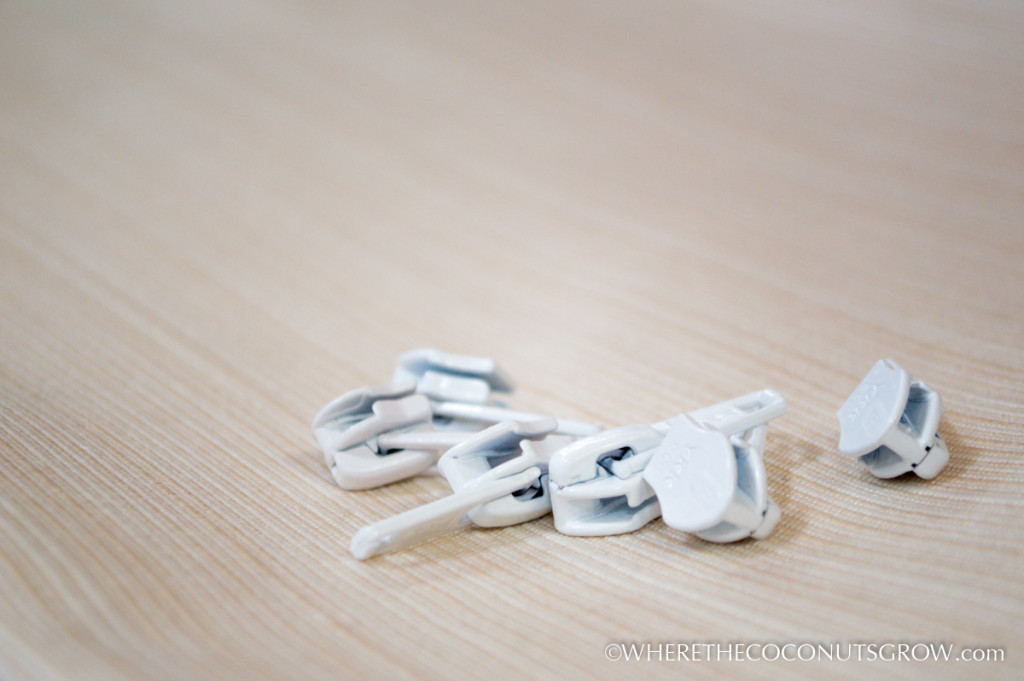
SAILRITE cushions-18

In the absence of a hot knife, Peter helped me burn all the edges with a torch to prevent fraying.
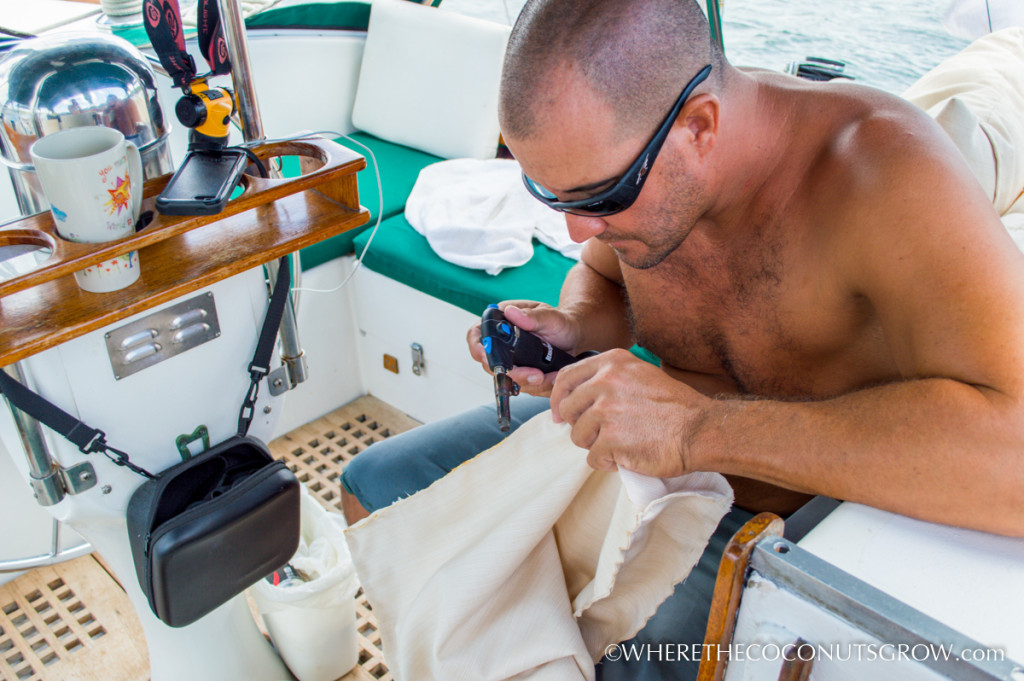
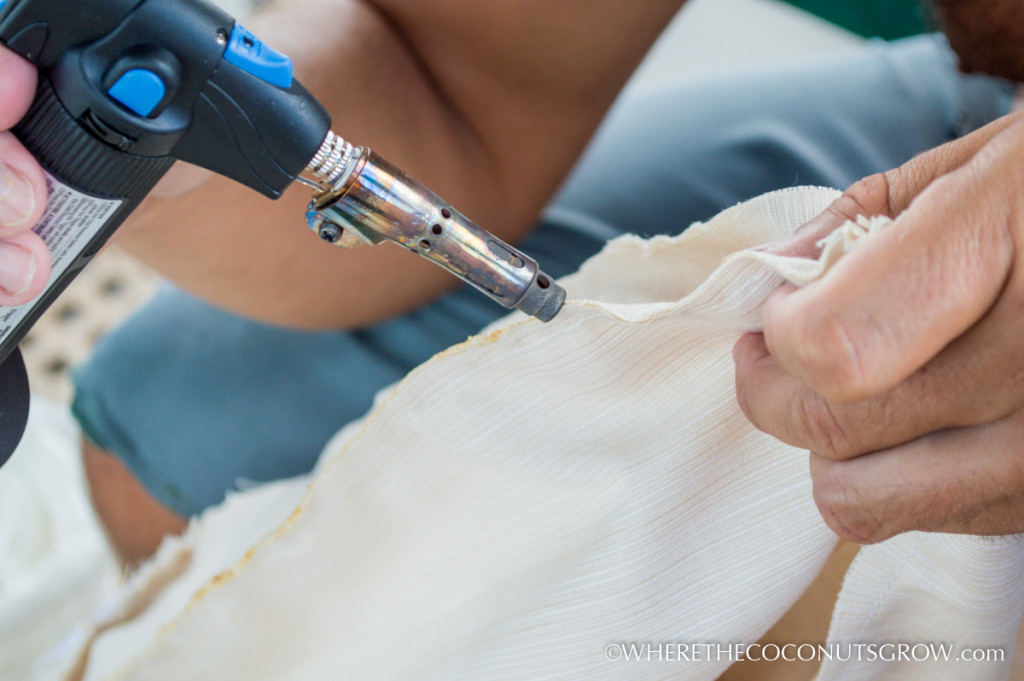
SAILRITE cushions-19 SAILRITE cushions-20

The first two cushions were the hardest, then I got into a groove. It got easier and easier as I kept going. A few days later, they were all done!!

The BEFORE pictures:
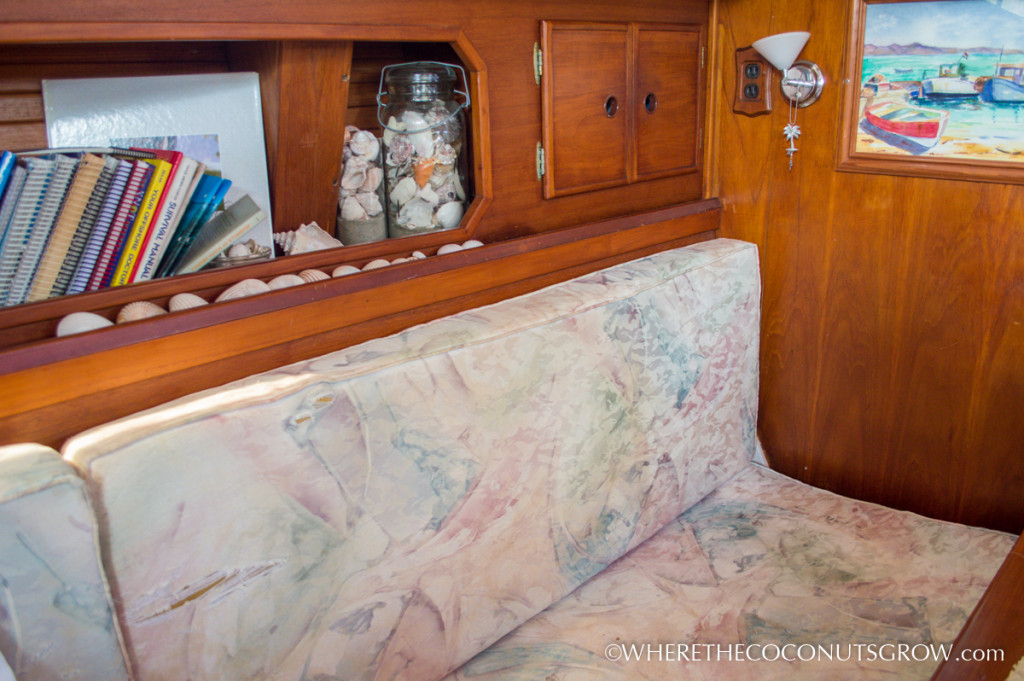
SAILRITE cushions-22 SAILRITE cushions-23

And AFTER!

SAILRITE cushions-24

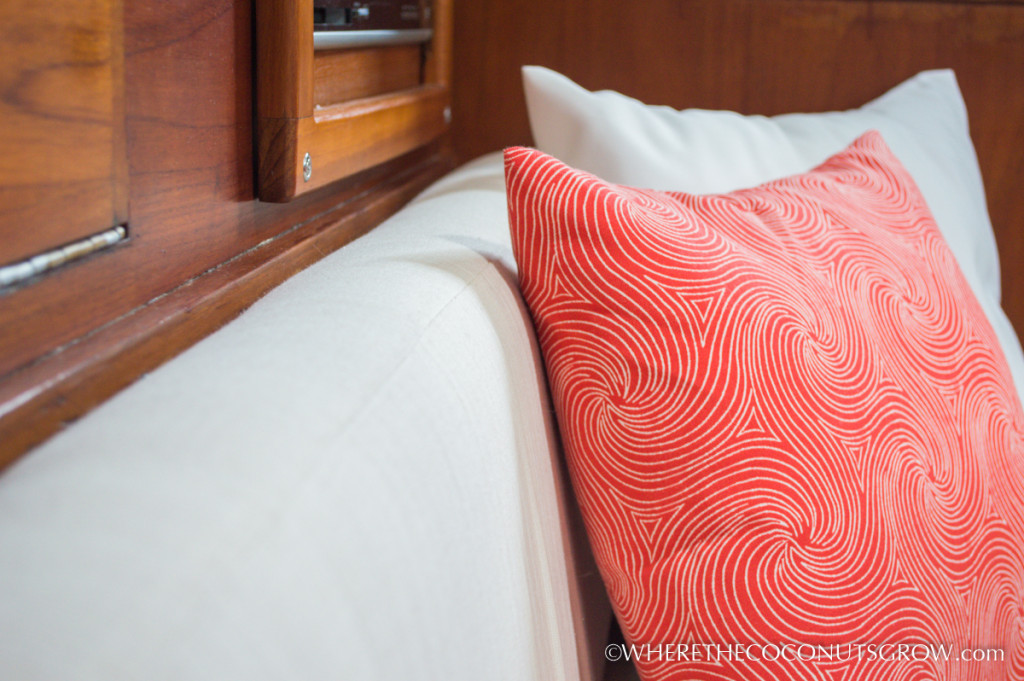
I chose to pattern an exact fit for both the top and bottom plates, as well as the boxing. Some of the Sailrite videos recommend adding a seam allowance but I wanted a nice and tight fit. I’m SO glad I chose to use zero seam allowance. This is the effect it has:
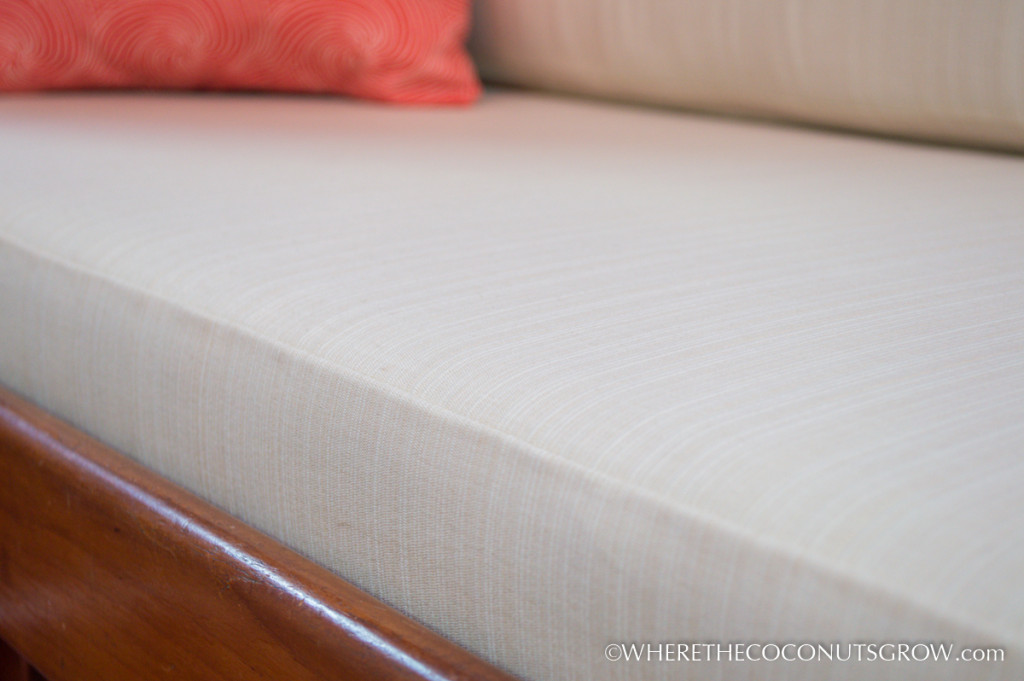
SAILRITE cushions-25

There is some unwanted puckering on the longest cushions but that’s because I was working with old foam that did not have a consistent thickness or width. It was worn unevenly in many places making it impossible to account for each dip and curve in the dimensions of my patterning. I was a little bummed at first, but now I hardly notice it anymore. Buying all new foam would have solved that but the added cost was way out of my budget.
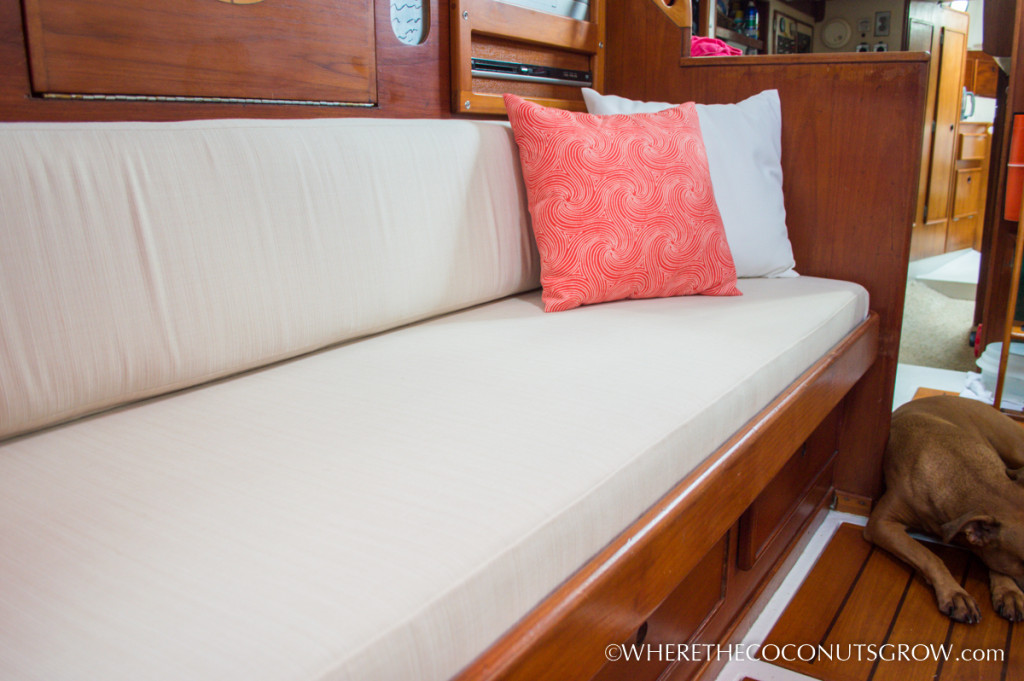
SAILRITE cushions-27

Every time I look at my finished work, I start smiling. I LOVE how it all turned out and I love my color choices. It brightens up the room so much. I am especially happy I chose the Dupione fabric. It feels absolutely divine to the touch. With each wash it gets softer and softer.
SAILRITE cushions-28SAILRITE cushions-32 SAILRITE cushions-33 SAILRITE cushions-35 SAILRITE cushions-36

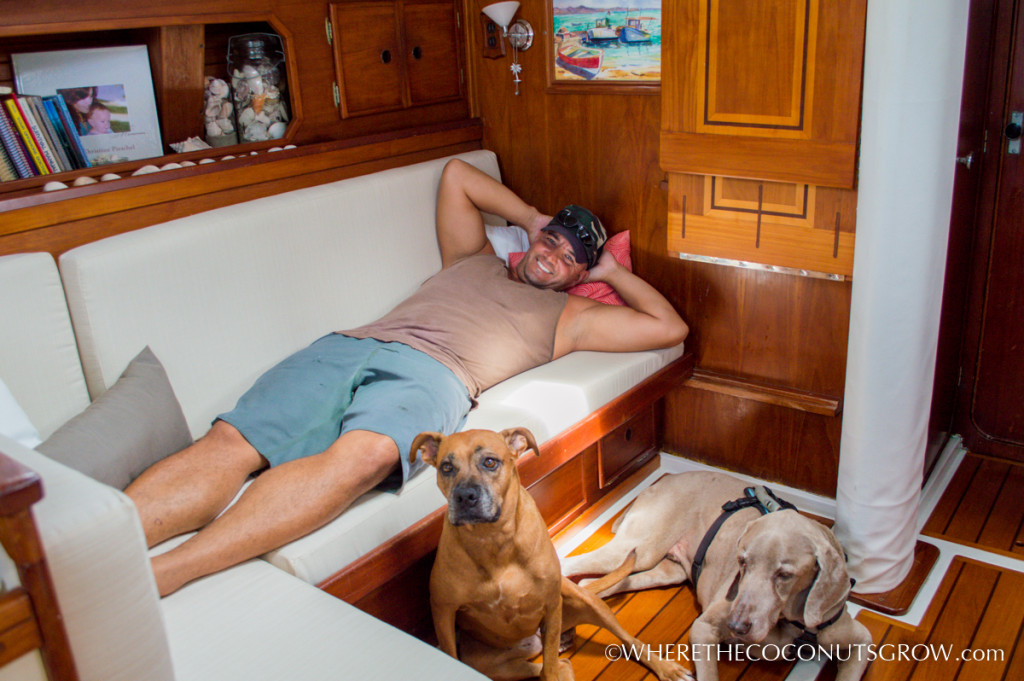
Somebody couldn’t wait to test out the new cushions and pillows!
SAILRITE cushions-47

Looking back, I wish I hadn’t waited so long to tackle this project. The Sailrite videos made it SO easy, even for someone like me with very little knowledge of or experience with sewing. My LSZ-1 machine made it really easy to sew through the thick corners with a durable V-92 UV rated thread. These cushions should last a very long time :)

As I stumbled my way through this project, I came up with a few Lessons Learned that I wish someone had told me about before I started:

1. Always round up when estimating fabric and zippers. Measure twice, cut once!

2. A seam ripper is a magic tool and only costs $2. Make sure you have one.

3. A hot knife will save you a LOT of time and butane.

4. Buy extra bobbins. You can never have too many. Threading them before you start sewing will save you a LOT of time.

5. Number your cushions in a sketch on paper when you start planning out your fabric. Write it down as you measure and be sure to stick to your notes.

6. You can save fabric by cutting all the boxing last, if you take good enough notes of what pieces go together. Mark your fabric so you don’t get confused later.

7. Make sure to have lots of extra thread on hand. It’s amazing how much gets wasted every time you pull the fabric away from the machine.

8. Understand what seam allowances will do for each material you are working with. I am glad I chose to use zero seam allowance for this project.

9. Use pins or basting tape to make sure everything lines up as you sew, otherwise you could end up with really ugly corners!

10. Get a good pair of scissors. If they have never been used on paper, they will be sharp enough for fabric. Keep them separate from your every day scissors.

11. Zipper plaques will shrink up as you sew, so be sure to stretch your edges and check your length often as you feed it through the machine.

12. Get a good marking pencil. I used a regular pencil but a special fabric pencil would have been nice.

13. Use a soft measuring tape when measuring fabric.

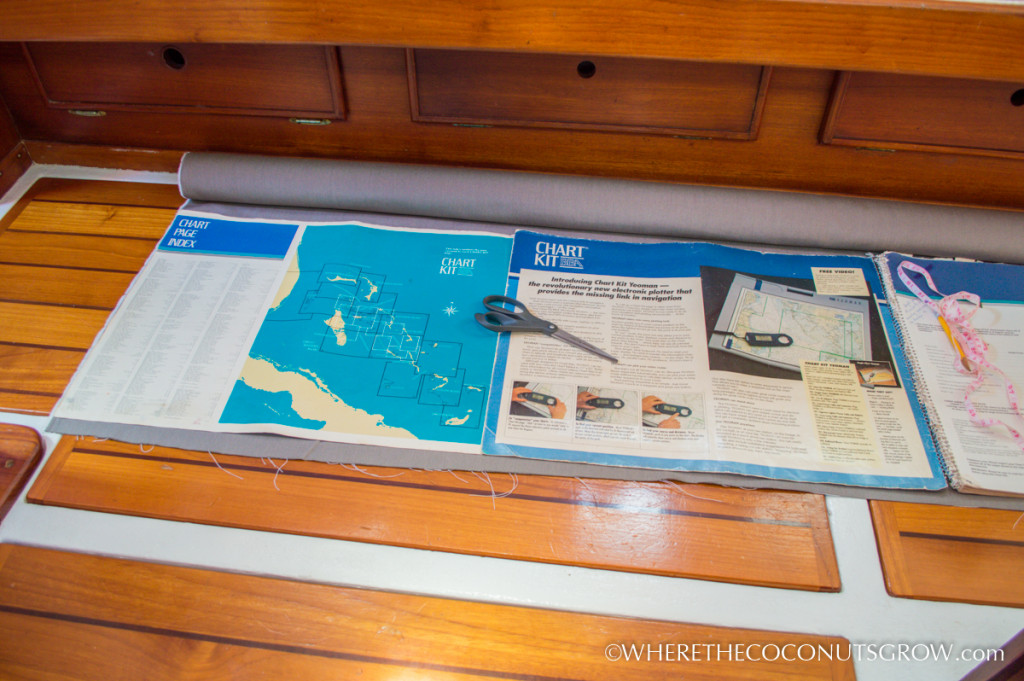
14. If you don’t have a straight edge to cut your fabric, get creative! I used chart books to make a straight line while patterning. Later, I just traced the pieces but sometimes you do need a long straight edge.
SAILRITE pillows-15

So, just in case you were procrastinating to start your own sewing projects, check out Sailrite and let them help you as much as they have helped me! They are a one-stop-shop with just about anything you need for the sewing project of your dreams. Their customer service is unparalleled and their product quality is outstanding. Because of those two things, I prefer to support their business even if I can find the same items cheaper somewhere else.  This project is proof that if I can do it, so can you! :)


IN CASE YOU WERE WONDERING… We are PROUD to share these awesome products and services with our readers. There are so many different solutions out there for everything we could possibly need, but these are the solutions that work for us.

This post may contain information about a product sponsorship. We gladly accept discounts or samples when a company feels generous enough to support our cause. In return we support the manufacturer or local service by sharing their links and writing about our experience with them. We only seek out sponsorship and affiliate programs from products and services we actually WANT to use and likewise only accept offers for products or services that we WILL use. We are not paid for any reviews we write or feedback we provide. We simply like to spread the word and share great experiences we have had that could also bring joy to others.

Waterproof iPods: Extreme Toys For Extreme Adventures

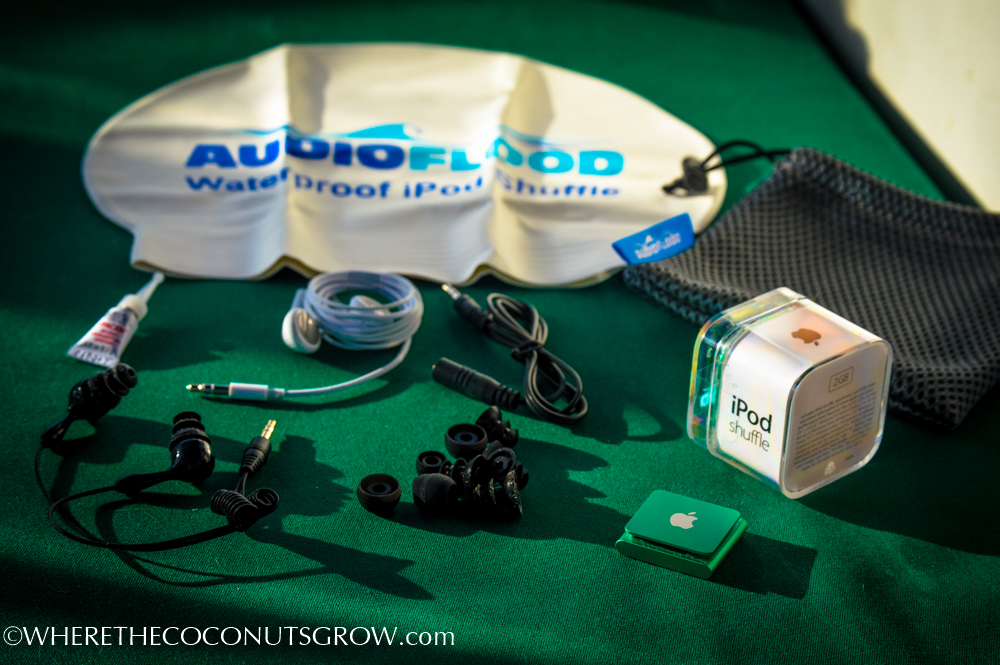
AudioFlood-1

The most extreme adventures are often hosted by the most extreme conditions. In our case, the majority of those adventures involve water – whether on the beach, underwater, on the water, or in the snow. Electronics are ever-evolving and continuously growing tougher but most of our devices still require waterproof cases and the utmost care to prevent damage from the environment. Now that we live on a boat we are also learning that pretty much everything we own must be ‘marine-grade’ to withstand the harsh salty air and salt water.

We live in a generation where electronic devices like computers, radios and phones are much more than just toys. They are communication devices that help us increase efficiency. Just like some athletes like to stay ‘in the zone’ with portable music players, we like to bring our tunes with us when we go to the beach, paddleboard, surf, snorkel and go spearfishing. Unfortunately, regular MP3 players or iPods don’t hold up for these kind of activities.

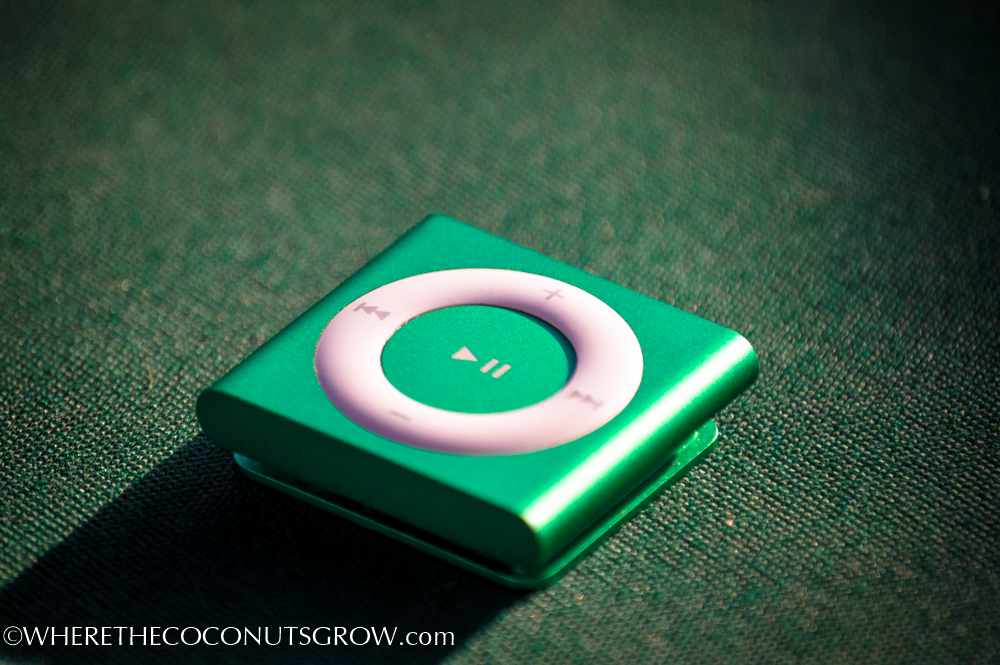
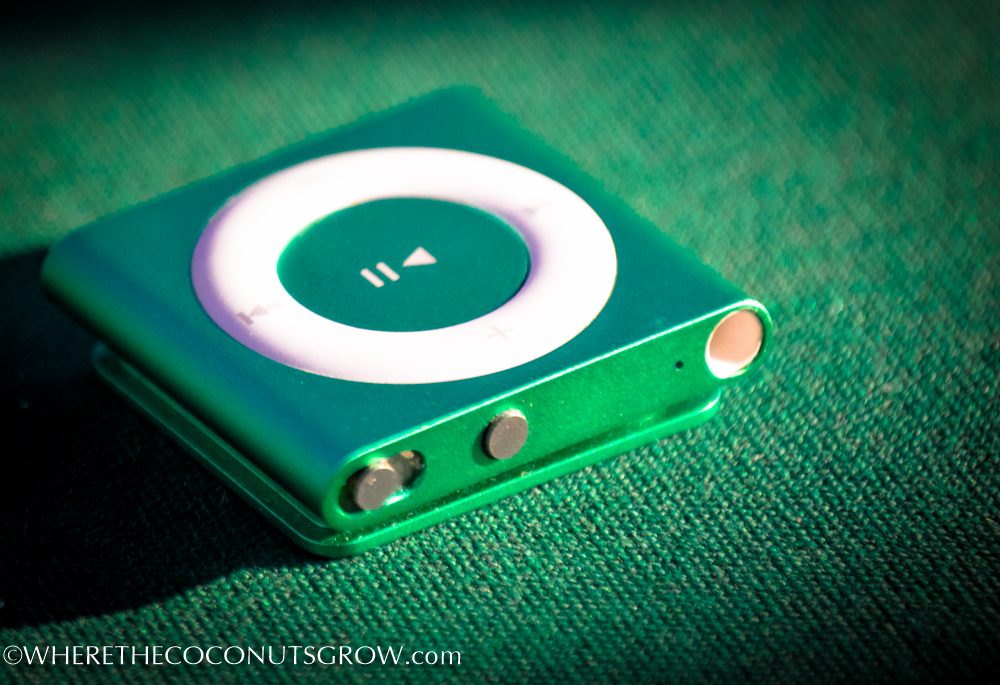
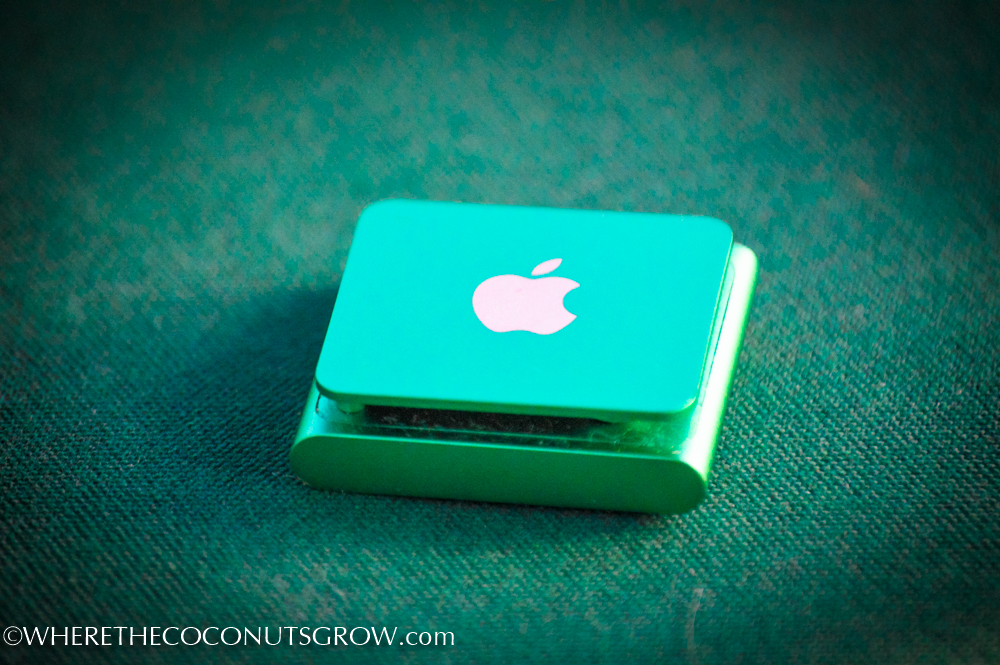
Before we set sail almost a year ago, AudioFlood introduced us to a product we didn’t even know existed: A waterproof iPod! They promptly shipped us two of these handy devices and we’ve spent the last 6 months putting them to the test.

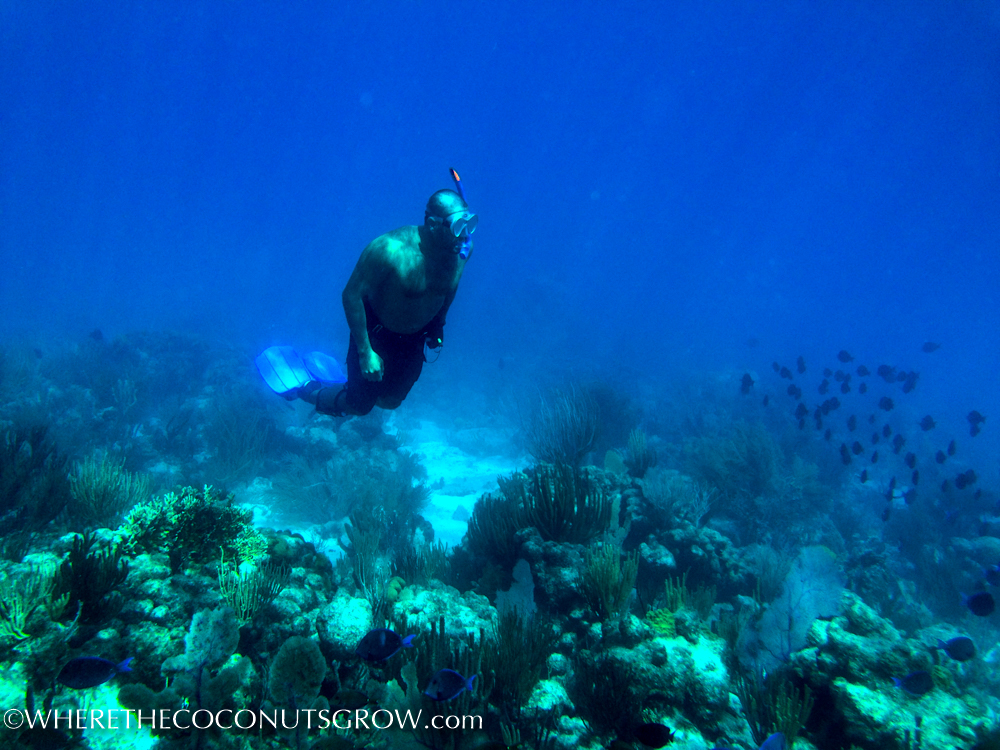
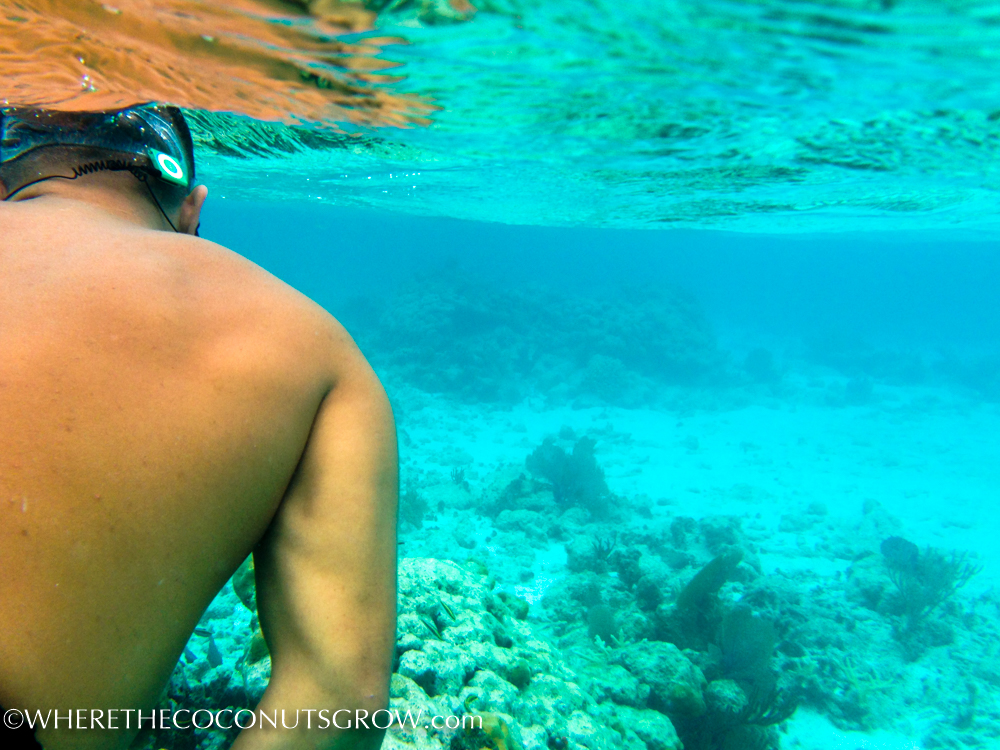
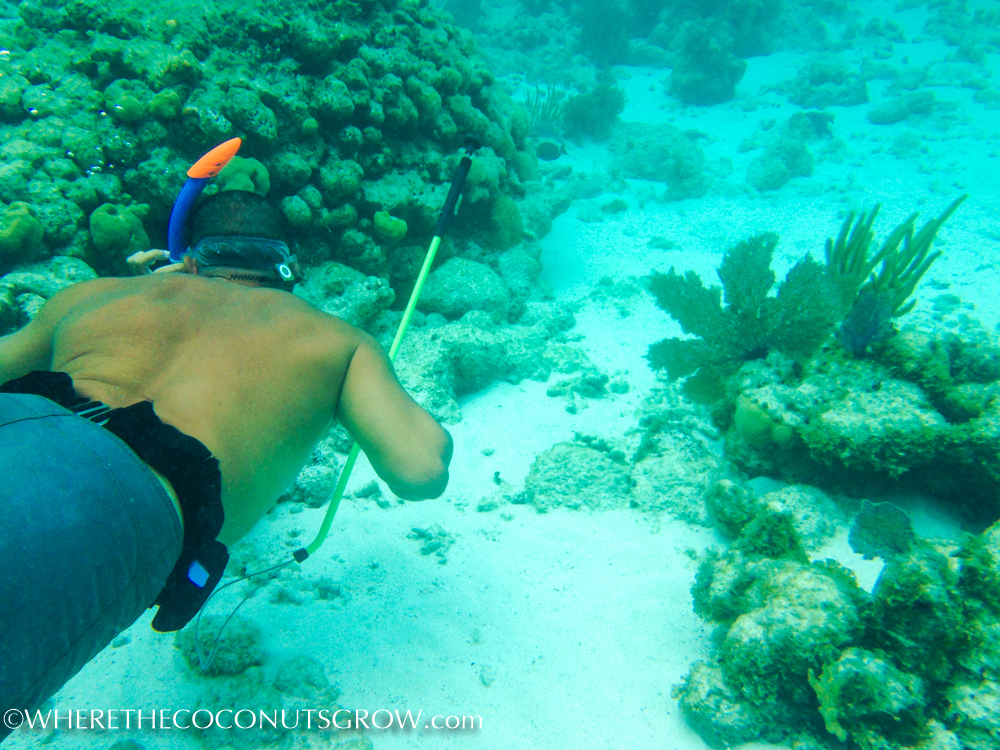
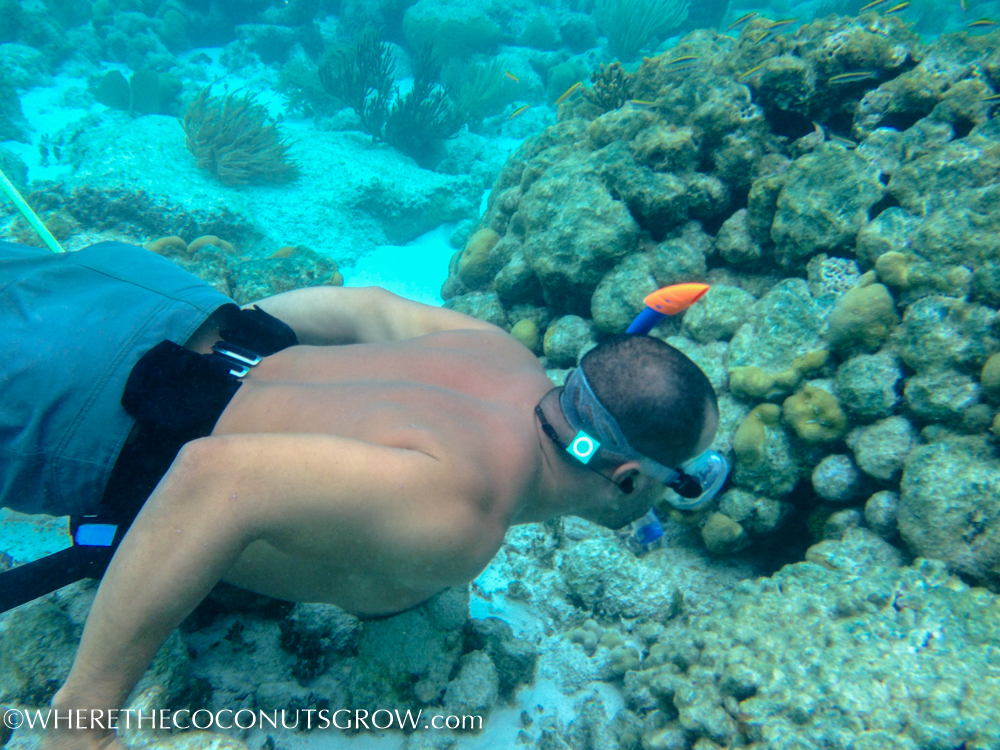
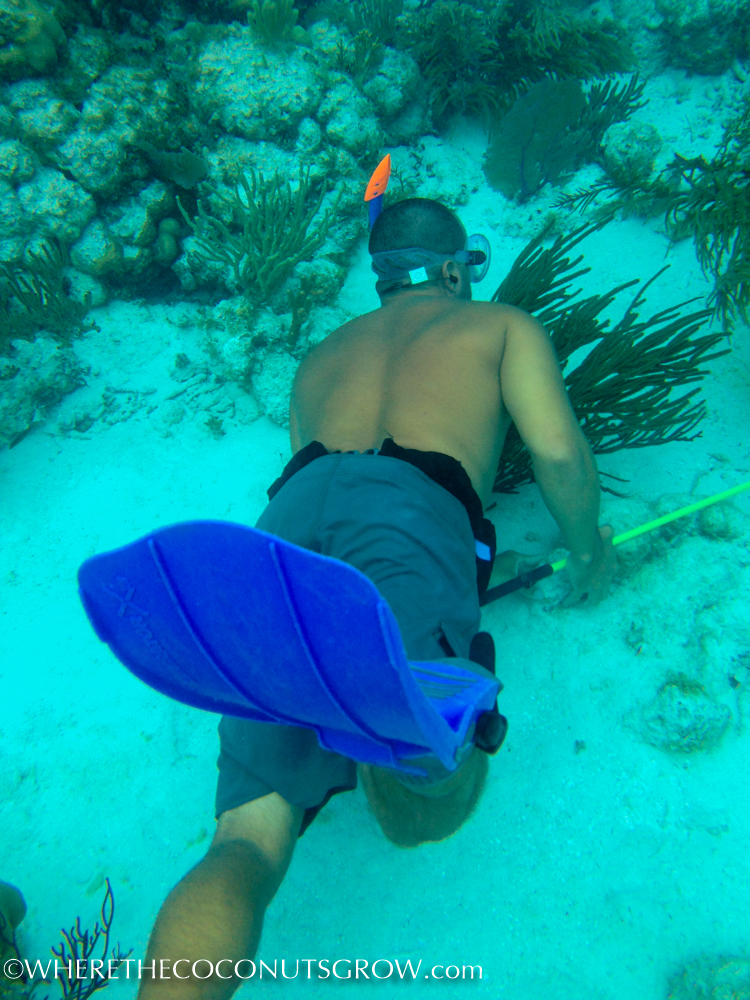
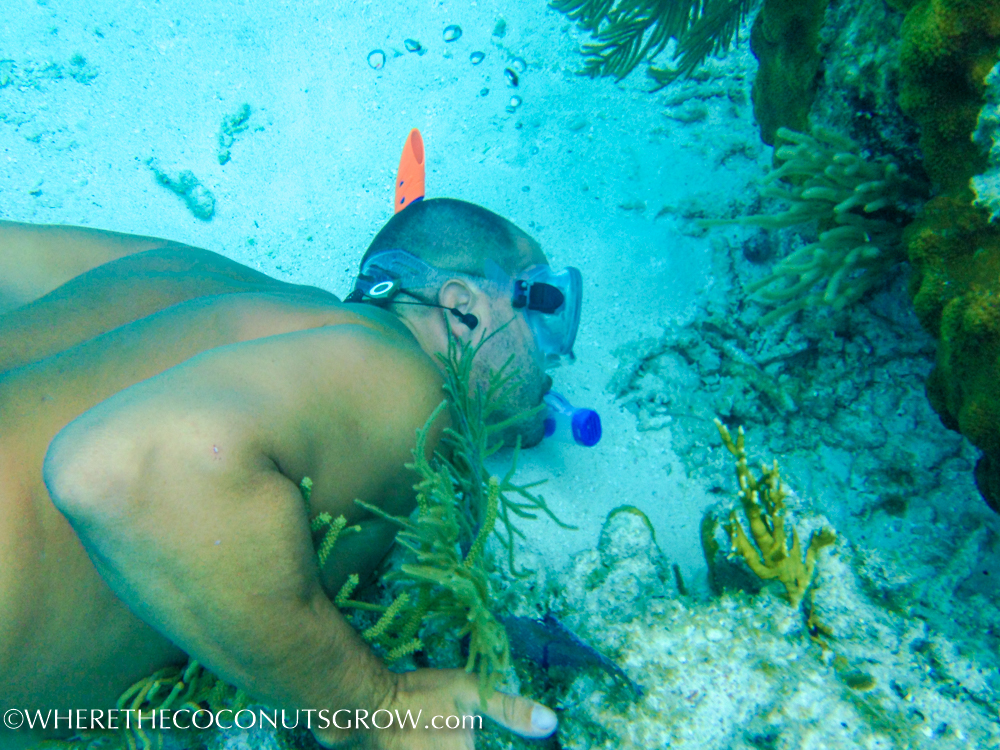
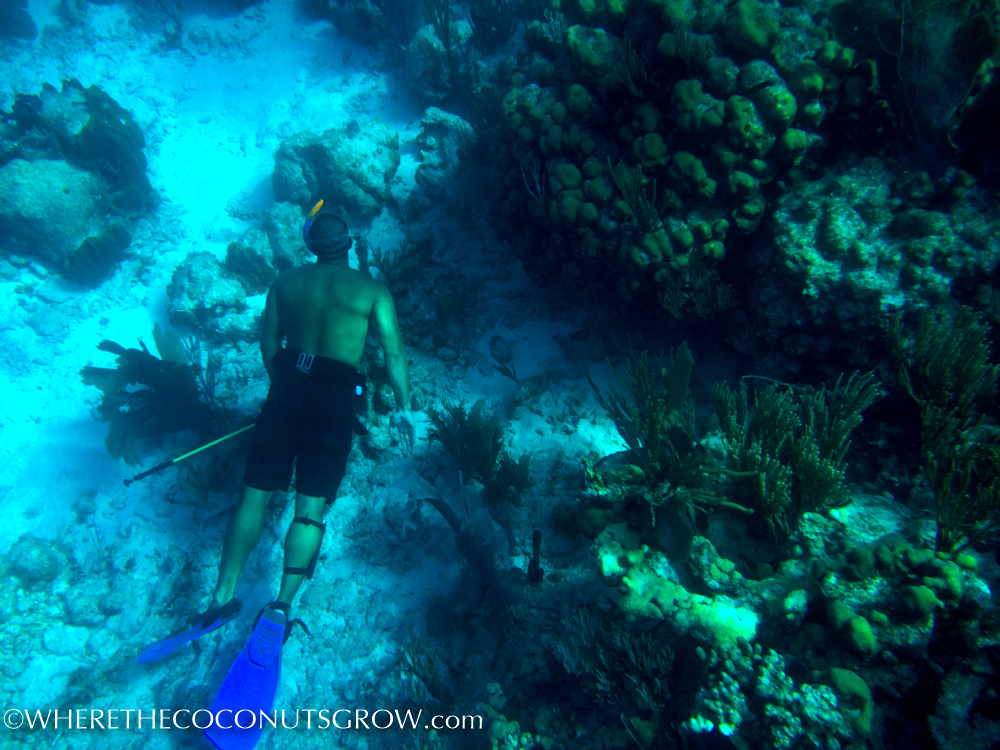
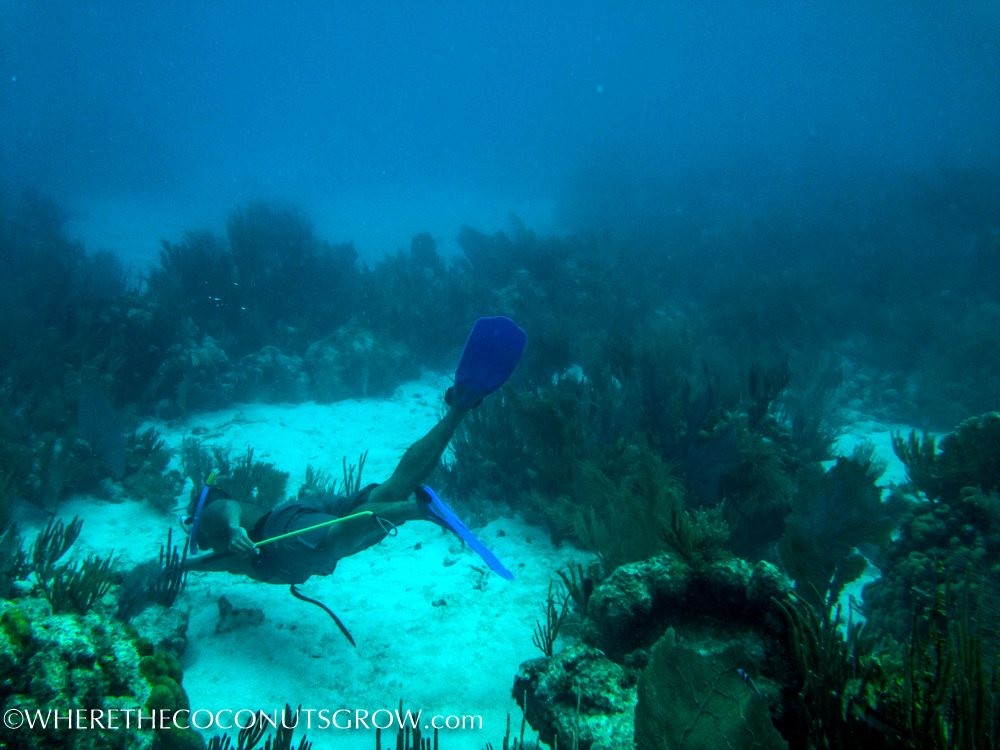
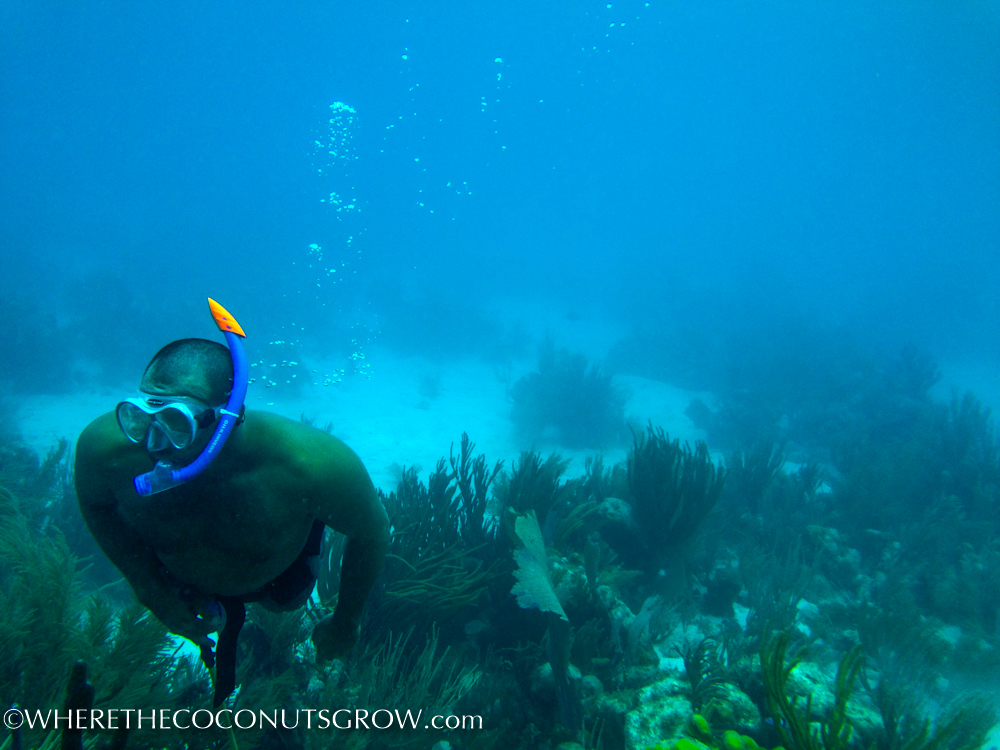
Keep reading to see the pro’s and con’s we’ve experienced with this device as well as seeing proof in the pictures of Peter rocking out while enjoying some underwater activities in our travels through the Caribbean. Music puts us in a meditative state and keeps us in the zone. It’s amazing how music can increase his attention, especially while hunting lobster :)

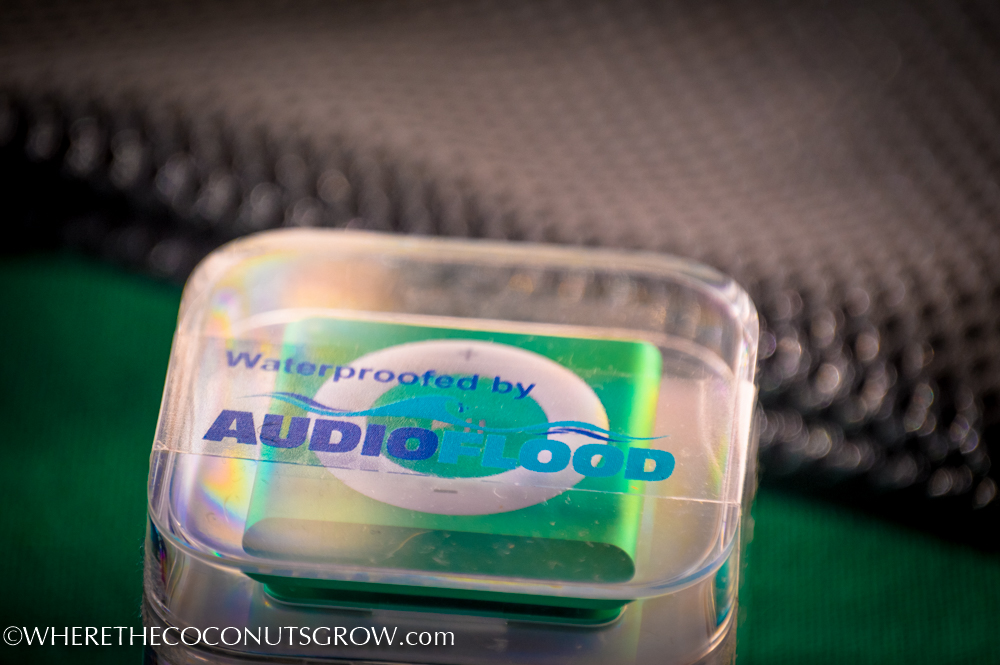
AudioFlood uses a unique waterproofing process that fills the entire inside of a genuine Apple iPod Shuffle with a continuous layer of soft yet highly corrosion resistant sealant. Also, unlike other waterproofing processes, AudioFlood never exposes their devices to temperatures above room temperature to prevent damage to the battery. For more information about the waterproofing process or to learn where to buy one, please visit AudioFlood’s website.

AudioFlood-3AudioFlood-6 AudioFlood-7 AudioFlood-10 AudioFlood-11 AudioFlood-12 AudioFlood-13AudioFlood-2 AudioFlood-14 AudioFlood-15 AudioFlood-17

PROS:

-Great for those that are supposed to wear earplugs in the water

-Depth rated for over 250 feet (although we believe it is not safe to use earplugs while diving to depths where you need to clear your ears)

-Impervious to salt water or pool chlorine

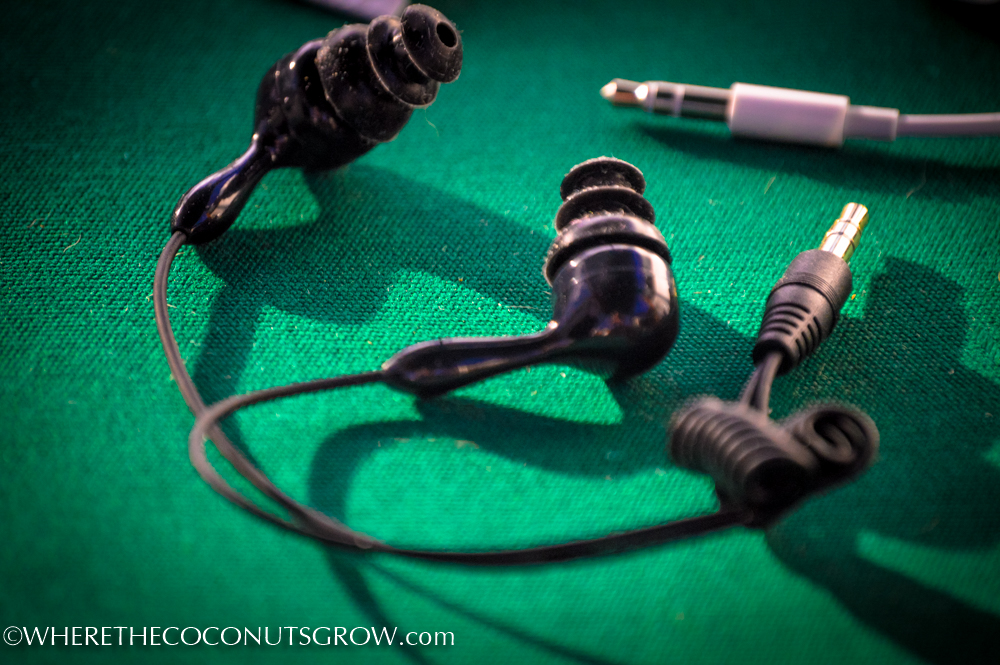
-The ear piece is soft rubber so it doesn’t irritate our ears

-The buttons on the iPod are not inhibited by the waterproofing process like a waterproof case does to the buttons on a phone

-Several available colors for personalization

-Fast syncing

-In the gym, these earphones won’t slip out like Apple’s do after getting sweaty

-Comes with a USB charging cable for easy use with a 12volt adaptor

-Great sound quality (as expected by Apple products) and unaffected by waterproofing

-Amazing technology that would be helpful for all electronics in harsh marine environments

-The technology protects from the inside-out so it doesn’t break down or fail as easily as a waterproof case

-Using an iPod is less cumbersome than carrying a smartphone or radio on Extreme Adventures

-Can be used for solo activities like surfing, diving, swimming, paddleboarding and snowboarding where most other electronics cannot be used

-Provides a function to play music that can be relaxing, meditative, focusing or mood enhancing

-Includes a short cord to prevent tangling

-Incredibly durable

CONS:

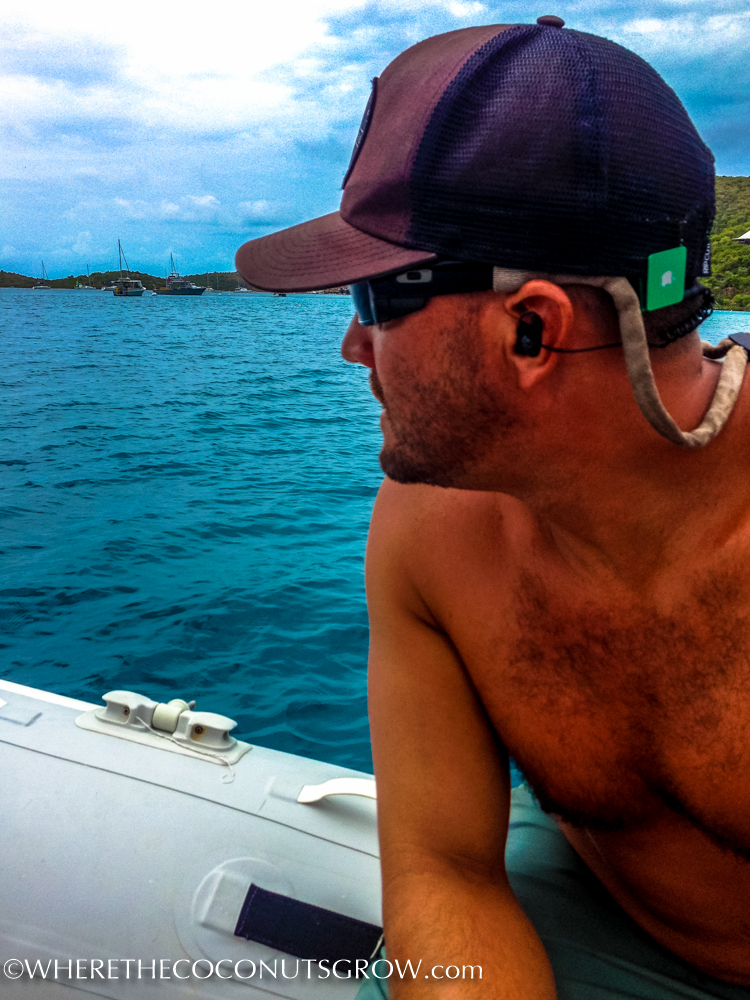
-For guys not wearing a shirt, the iPod must be clipped to a hat instead and the earbuds are then upside down and easily fall out

-Loss of hearing: the ear pieces are airtight and inhibit any nearby sounds (This can be dangerous if you need to be able to hear things like a continuously running water pump, alarms, horns, nearby boats approaching while underwater, or any other audible danger)

-The devices are only sold in 2 gb sizes, which really doesn’t allow for much song storage

-Not recommended for fishing due to loss of sound (can’t hear birds working, boils reels zinging or engine of the boat)

-Water did get into the hollow part of the ear piece and it was difficult to blow out

AudioFlood-100 AudioFlood-101 AudioFlood-102 AudioFlood-103 AudioFlood-104 AudioFlood-105

**DISCLAIMER: Extreme care must be taken if using products like this under water. Please consult a professional before using this product while diving or freediving. Where The Coconuts Grow does not guarantee similar results to the experiences we have shared here and makes no claim on the safety of using this product during any type of activity. We shall not be held liable for any damage incurred while using this product.


IN CASE YOU WERE WONDERING… We are PROUD to share these awesome products and services with our readers. There are so many different solutions out there for everything we could possibly need, but these are the solutions that work for us.

This post may contain information about a product sponsorship. We gladly accept discounts or samples when a company feels generous enough to support our cause. In return we support the manufacturer or local service by sharing their links and writing about our experience with them. We only seek out sponsorship and affiliate programs from products and services we actually WANT to use and likewise only accept offers for products or services that we WILL use. We are not paid for any reviews we write or feedback we provide. We simply like to spread the word and share great experiences we have had that could also bring joy to others.
Best SUP For A Liveaboard Sailboat

WTCG-23

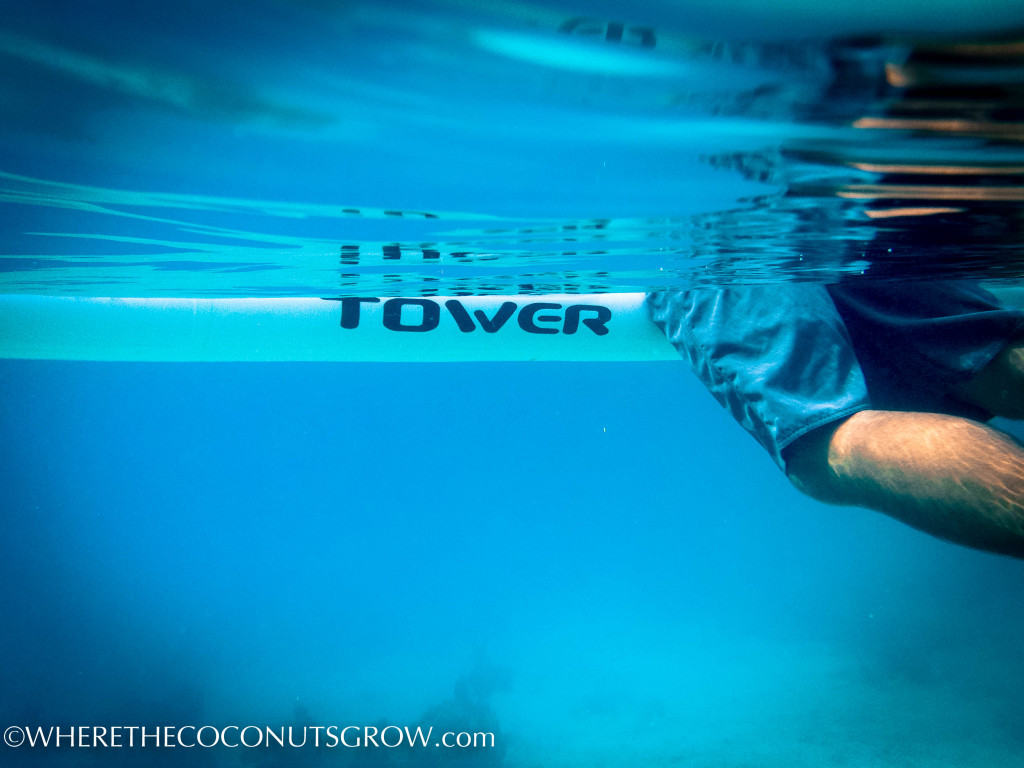
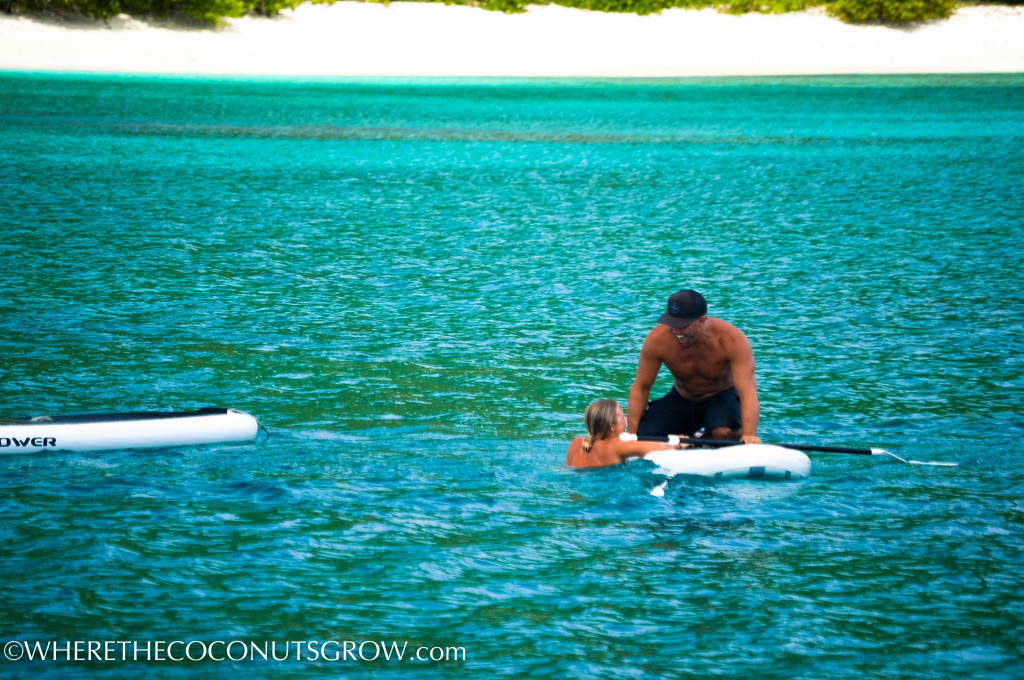
Where The Coconuts Grow is sponsored by TOWER PADDLE BOARDS – A local San Diego company with a worldwide online store. We are proud to partner with this SUP manufacturer that you may have seen on ABC’s Shark Tank. They are based out of our hometown in sunny Southern California and we are happy to show some San Diego LOVE!

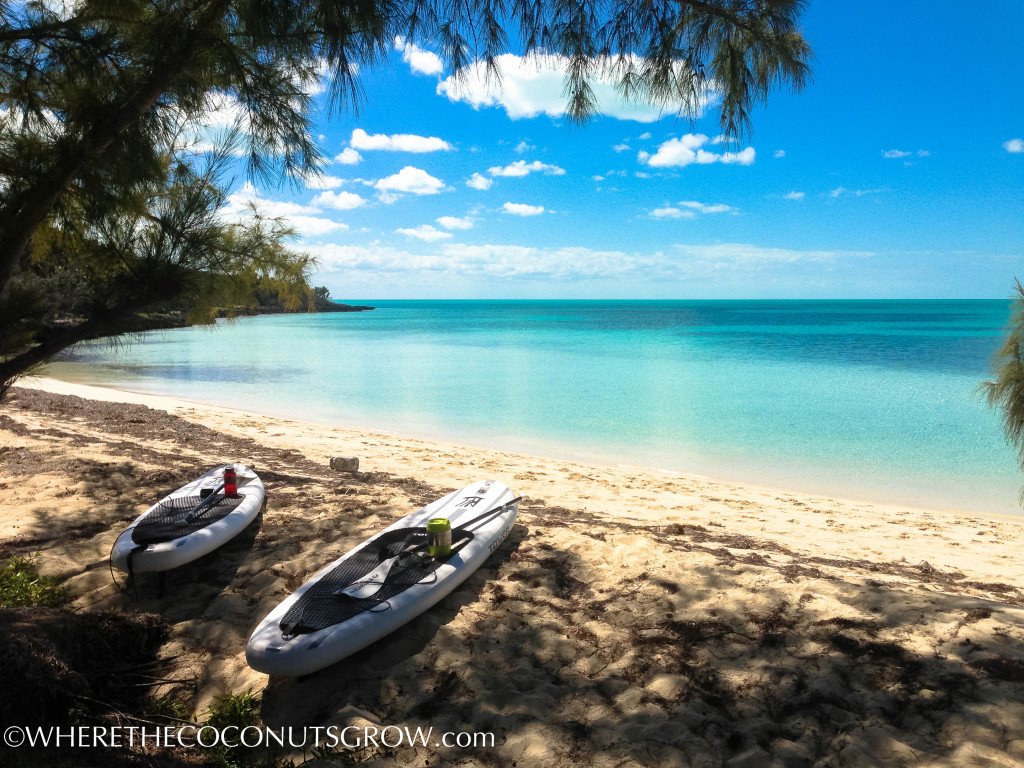
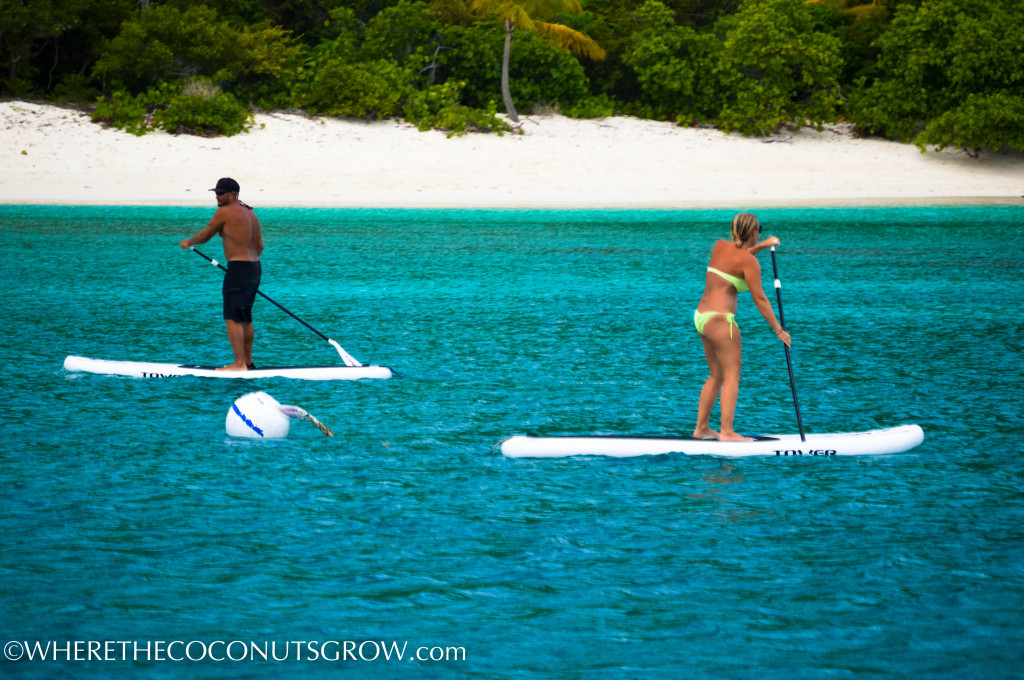
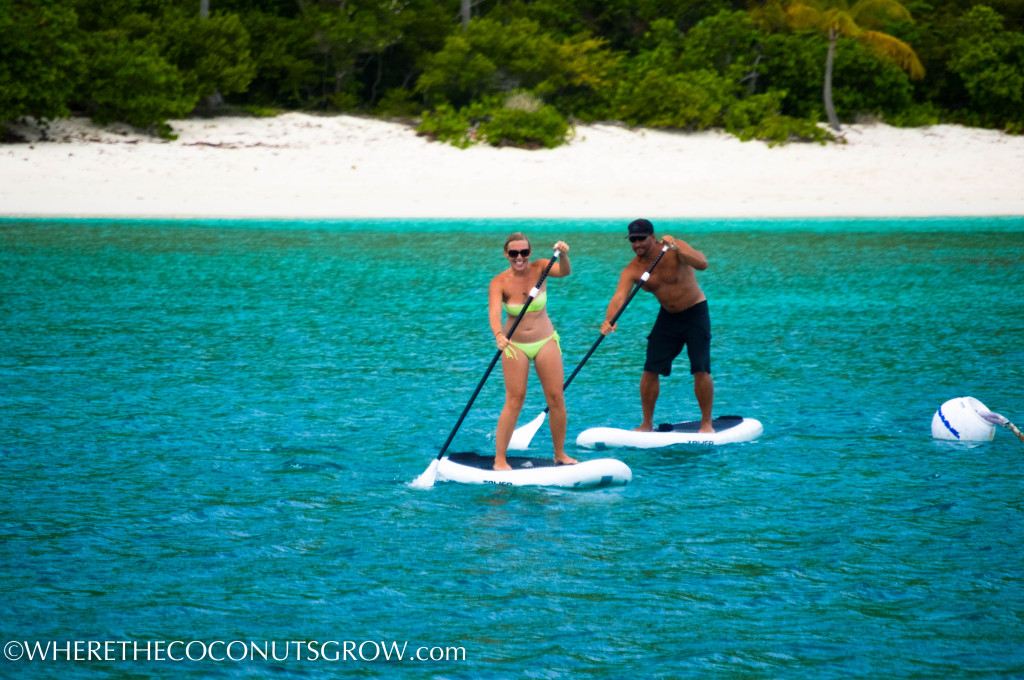
With a growing popularity among the cruising community, we saw pictures of the Tower iSUPs on several other blogs during the months we spent outfitting our boat. It wasn’t until the Ft. Lauderdale Boat Show in 2013 that we became interested in actually buying one. After seeing the boards up close and personal, we decided we needed not one, but TWO 9’10” Adventurer iSUPs! It’s a good thing because we use them all the time now that we’re out cruising around. Click here to read about our first adventure on the paddleboards in the Bahamas.

Now that we’ve had some time to play around with our iSUPs, we’d like to share our experiences with you about the PROS and CONS of buying an Inflatable Stand Up Paddle Board (iSUP) while living on a sailboat. Check out our Tower Paddle Board review:

PROS

– Rigidity

There were two blocks placed underneath each end of an Adventurer 9’10″ inflatable SUP at the Ft. Lauderdale Boat Show. Amazed at the rigidity, I called Peter over to test it out.  It’s designed to hold up to 300lbs when properly inflated and Peter had no trouble keeping his balance while trying to bounce up and down on the center of the board. In the water, the rigidity proves to be just as reliable as long as it’s inflated properly.

– Inflatable

The best part about buying an inflatable SUP is that they roll up nicely. While aware of the long passages we had planned, it was impractical to purchase more gear that would need to be strapped on deck so the fact that these iSUPs can be deflated and stowed neatly in our forward cabin while under way was a major selling point for us. If we are at anchor for awhile, we leave the boards inflated and stowed on deck. On short day sails, the boards are fine on deck, but when we are passagemaking, the boards are deflated and stowed in our forward cabin.

– Size

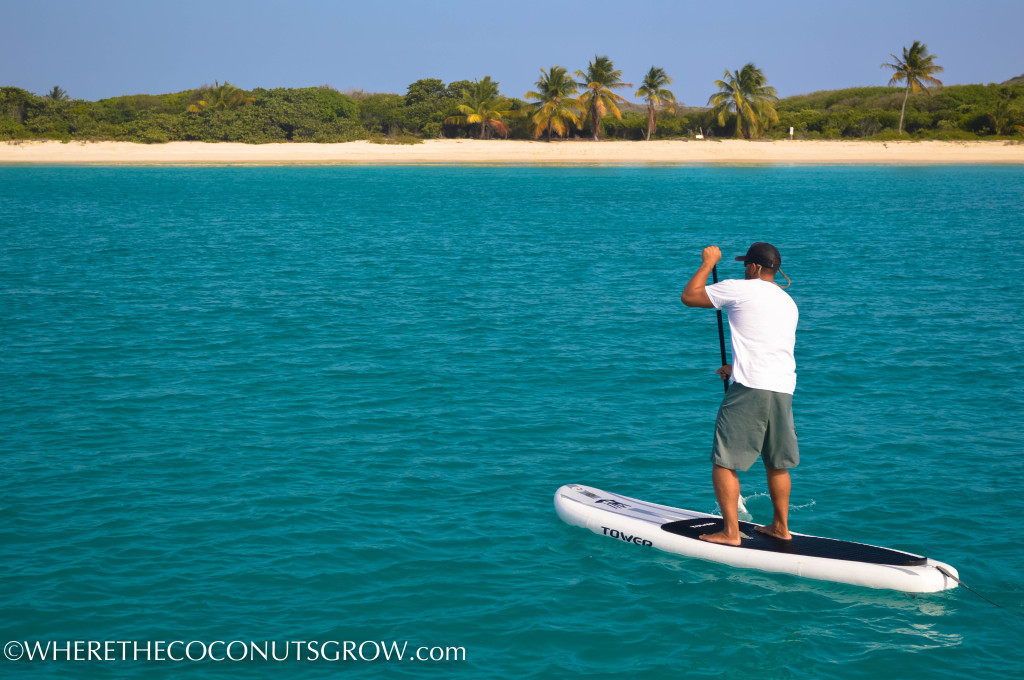
Tower offers various sizes of inflatable SUPs and several other options for their fiberglass boards. Even at 6′ tall Peter felt comfortable with the 9’10” board instead of the larger 14′ inflatable board. The 9’10” Adventurer iSUP is just small enough for me to carry on shore and to lift up and over the lifelines while deploying or bringing it back on board our boat. It’s also big enough to remain stable on the water while carrying a bunch of gear.

– Accessories

Tower offers a ton of accessories designed specifically to fit their boards. We have attached a Safari Pak to one of our boards for carrying our snorkel and fishing gear. The other board has plenty of room left for Betsy to ride along for an afternoon paddle. All the essentials are available like a pump, adjustable paddle, leashes, extra D-ring hooks, spare fins, fin bolts and traction pads. If you think you’re good enough to not need a leash, at the very least attach some sort of line to the board to be able to secure it to something while not in use but still in the water. We have leashes on both boards but we really only use them to secure the boards to the side of our boat or when visiting friends :)

Boards can be purchased individually or in packages that include the pump and an adjustable paddle. While we purchased the board only, not the package, we still recommend getting the package if you want to be ready to paddle right out of the box. Our inflatable dinghy pump had the same attachment fitting as Tower’s so we thought we didn’t need to spend the extra money on a second pump. Now we wish we had bought Tower’s pump made especially for their boards because our pump lets out too much air as it is being disconnected.

We ended up purchasing paddles with fiberglass handles from another company during a Cyber Monday sale but Tower now offers very nice fiberglass paddles (and other materials) on their site for those interested in upgrading their paddle.

– Convenience

Our favorite part about having two iSUPs on board is that they are so much easier to deploy than our dinghy. We can easily drop a paddle board in the water to go visit a neighboring boat in an anchorage, or take a walk on the beach, or check out a snorkel spot that is farther away than we want to swim. Peter has even taken one of the boards to check us in at Customs and Immigration after a long passage instead going to the hassle of dropping our dinghy and motor.

– Exercise

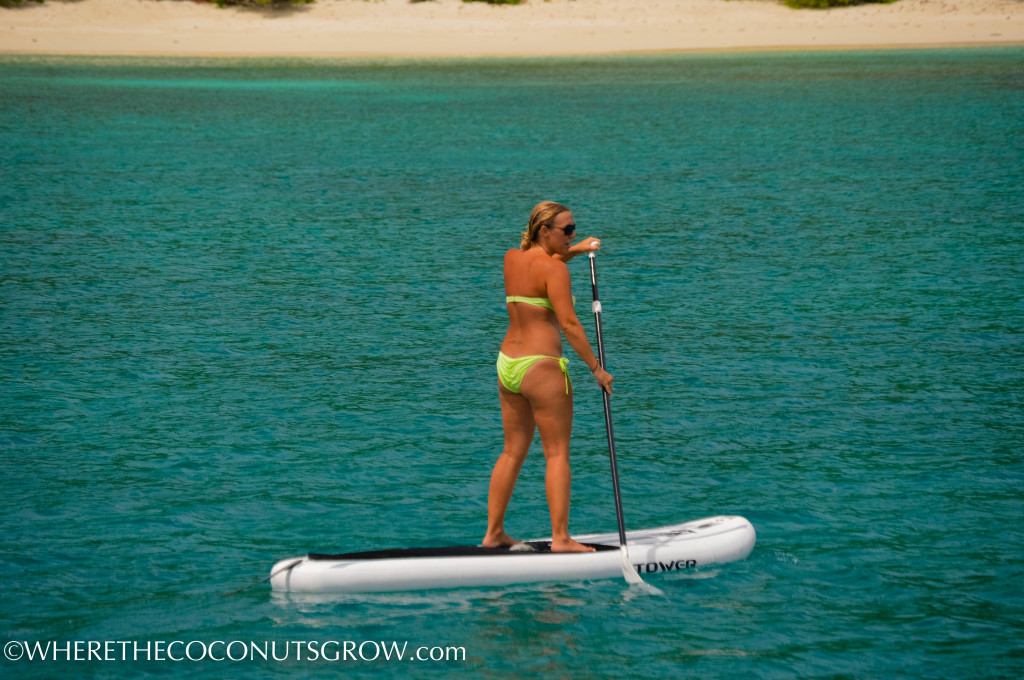
Stand Up Paddle Boarding is a fantastic way to get in shape. It uses core muscles for balance, upper body as well as leg strength. Access to land may not always be available but in a calm anchorage we can always paddle around for a little exercise. On a windy or choppy day it adds an extra level of challenge to stay standing. For the more adventurous types, some people enjoy SUP yoga and surfing!!

-Price

A Tower inflatable SUP costs several hundred dollars less than a regular board, and often much less than competitor inflatable boards. Tower frequently offers online sale pricing so be sure to check back often! **

-Shipping

Domestic orders over $250 or that include a paddle board qualify for free shipping! Shipping is fast and their customer service is exceptional. Shipping is also available worldwide for a fee.


CONS

– Fins

Two of the fins remain fixed. The larger center fin on our board must be removed in order to roll the iSUP back up into a nice space-saving bundle because the inflator valve is located at the head of the board. This has since been redesigned and the new Tower boards have the inflator valve at the foot of the board making it easy to start rolling from the head and leave the fin attached. Our boards came with fin screws to attach the center fin which eventually began to rust after just a few months in salt water, even after rinsing with fresh water after every use. The head on the bolt has very shallow grooves making it extremely difficult to tighten or loosen the bolt. The bolt is also easily dropped and may bounce off the deck going overboard – OOPS! Tower also took note of this design flaw and has since replaced the fin screws with plastic fasteners attached with a loop. Problem solved!

– Lack of D-Rings

The board only comes with one D-ring on each end. Additional D-rings or a Safari Pak must be purchased if  you want to attach a bungee cord to the front of the board for carrying gear. They are cheap to buy more but take note before making your purchase to avoid the hassle of ordering twice.

– Discoloration

The glue that binds the PVC seems together begins to turn yellow after just a short while of sun exposure.  This isn’t a Tower-exclusive issue though… any glue used on PVC, such as our dinghy, will become discolored with UV exposure. It’s only a cosmetic flaw but it sure was nice when the board was sparkling white :) After two years in the sun, its hardly noticeable anymore, though it does happen.

– Handle

The webbing installed as a handle in the center of our boards has since disintegrated with UV damage and completely ripped off both boards. Again, Tower took note of this issue and has engineered way better handles out of more durable material for all their new boards. Lucky for everyone else!

After factoring in all of the Pros and Cons, we think the Tower Adventurer iSUP is the best SUP for a living on a sailboat!

**If you or anyone you know is interested in purchasing products from Tower Paddle Boards, PLEASE consider using one of our affiliate links above. Just like many other bloggers, we are part of Tower’s Affiliate Program which tracks where their sales are referred from. Simply access Tower Paddle Boards by clicking through from the links above first. Any subsequent products you search for on Tower’s website during that same internet session will help us out when you complete your purchase. It’s no additional cost to you and it will add a very nice chunk of commission into our cruising fund keeping us afloat for just a little longer. We truly appreciate your support!


Take a look at some of the amazing adventures we’ve had so far:

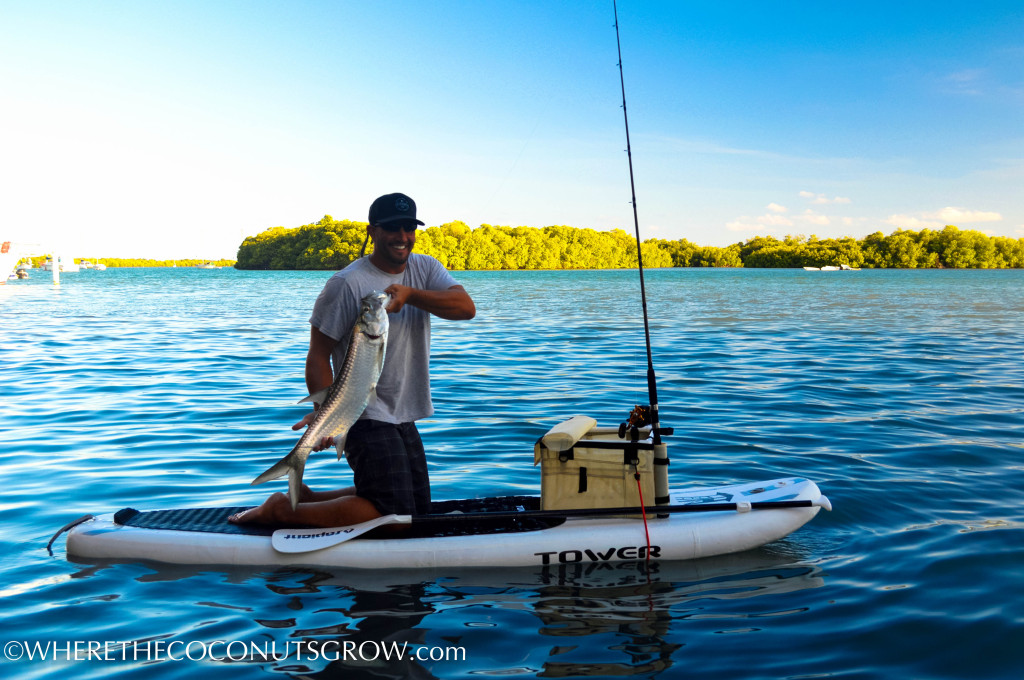
We go fishing…

WTCG-5

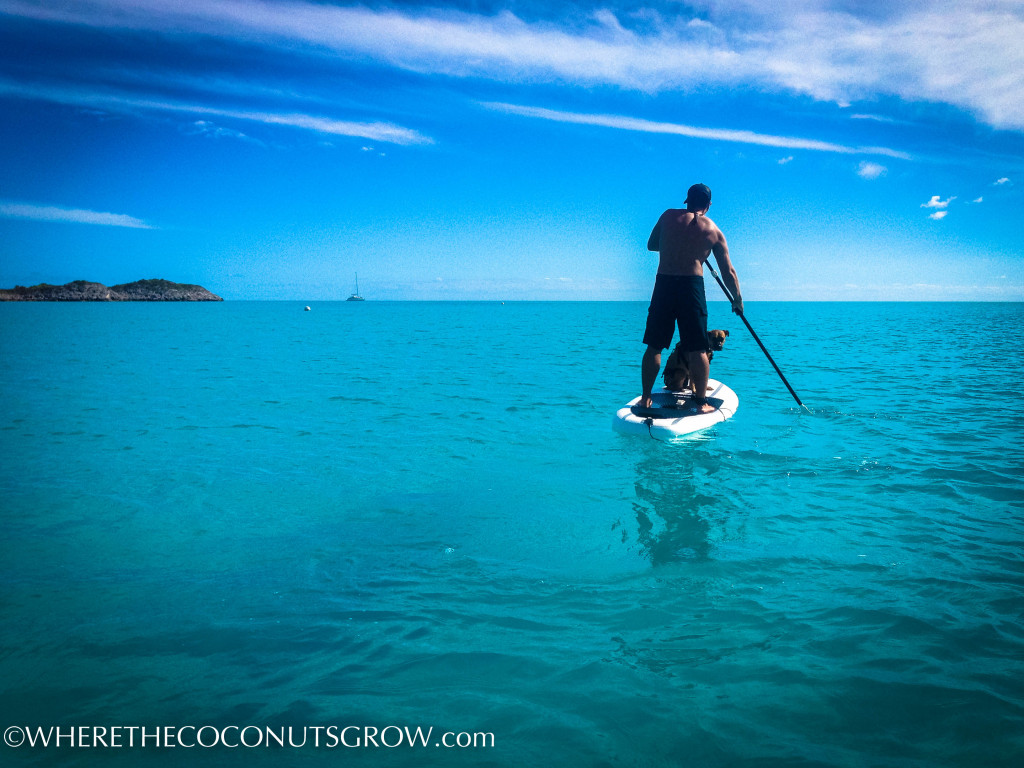
We take Betsy for ‘doggie paddle’ sessions…

WTCG-1WTCG-3

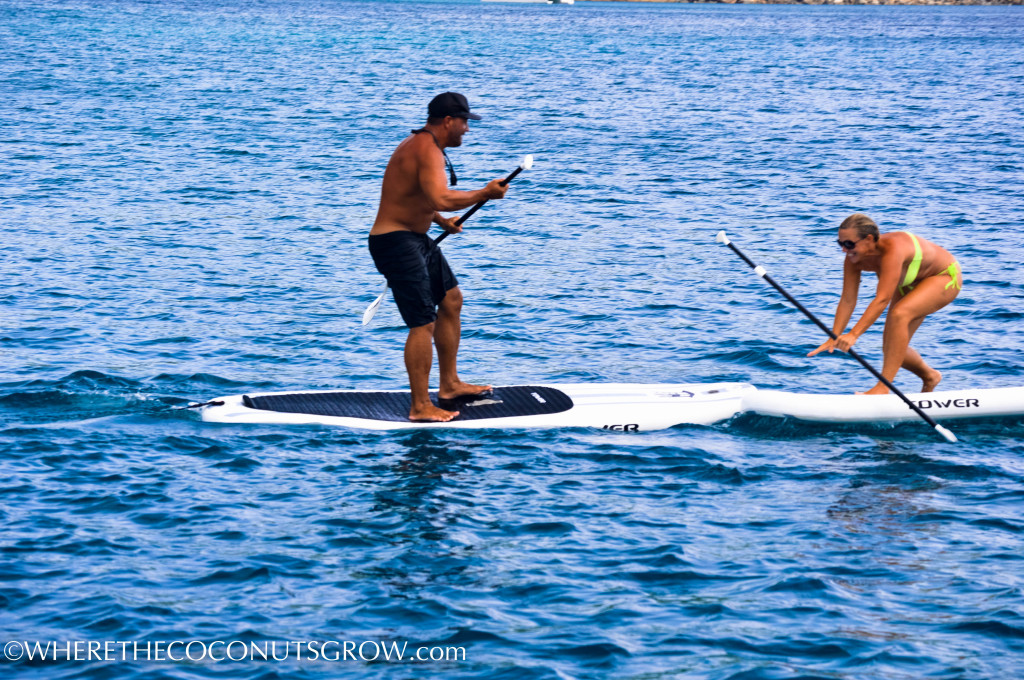
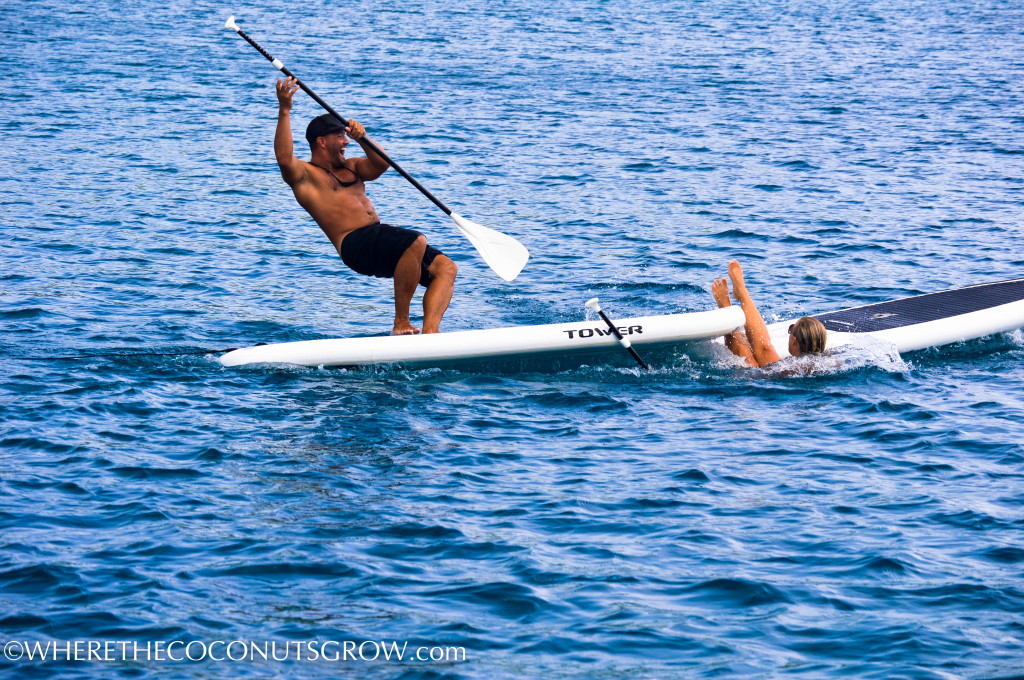
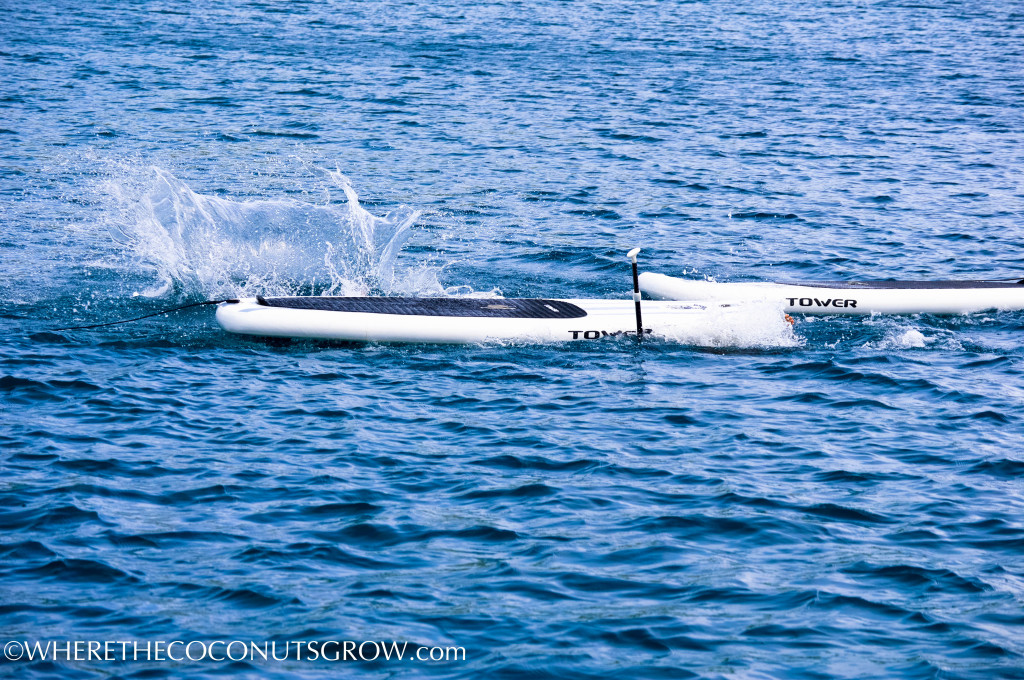
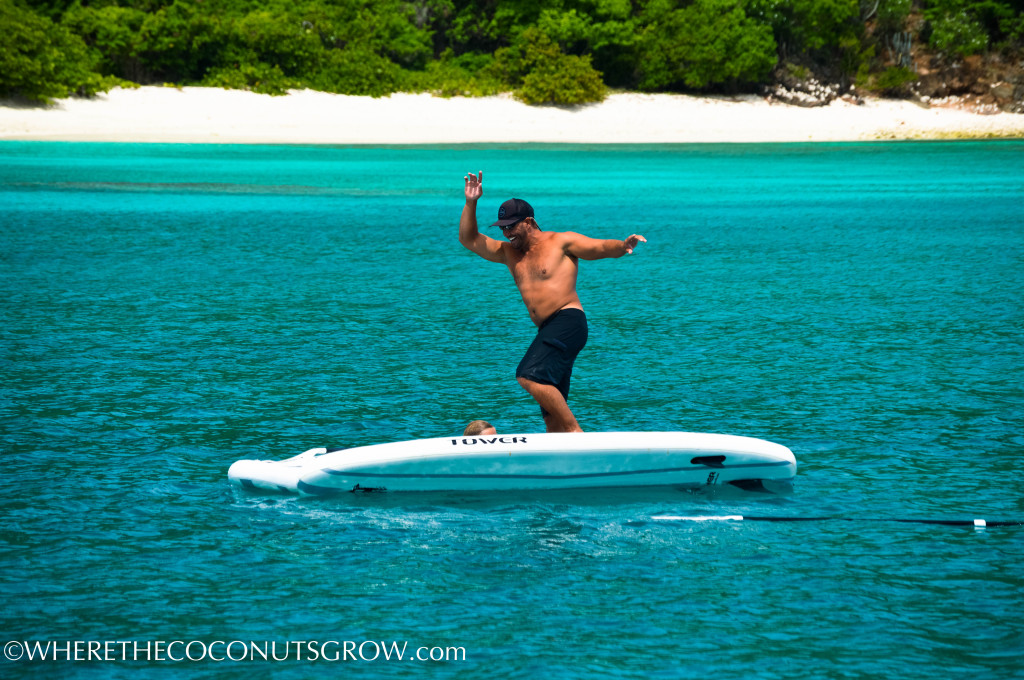
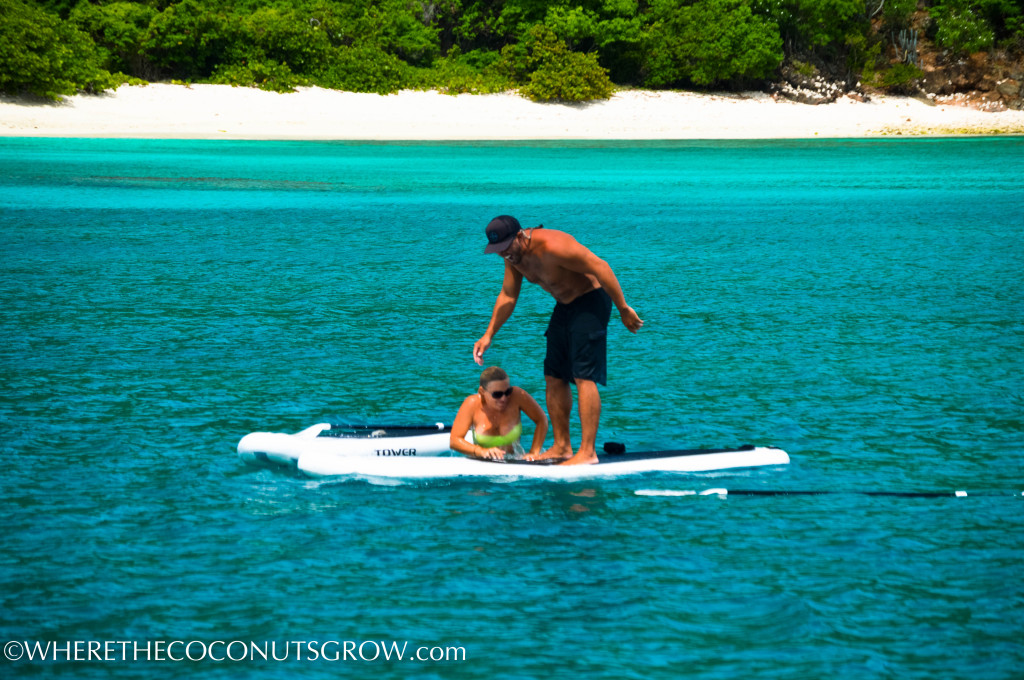
We play bumper boards seeing who can stay on their board the longest…

WTCG-18WTCG-19WTCG-20

We explore caves…

WTCG-21WTCG-22

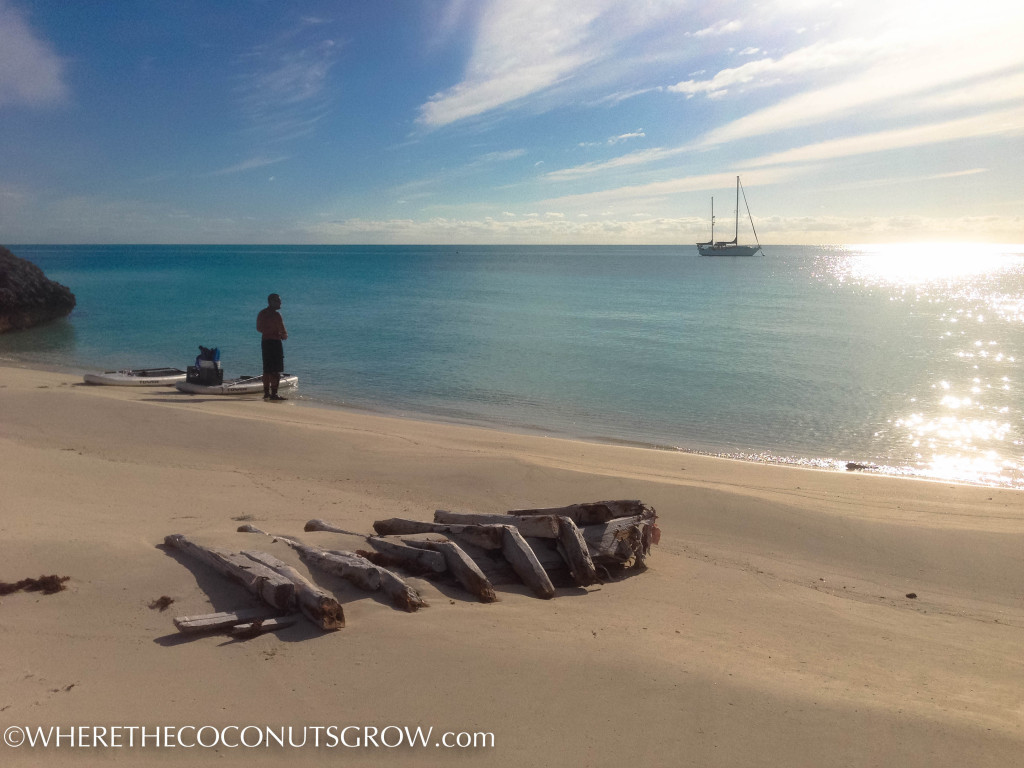
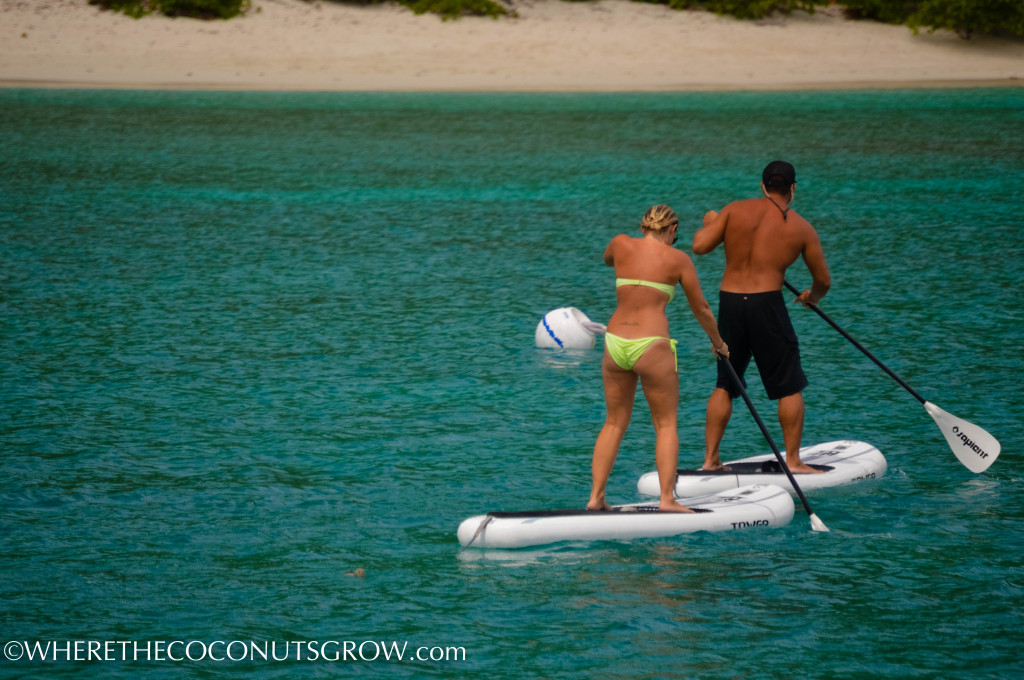
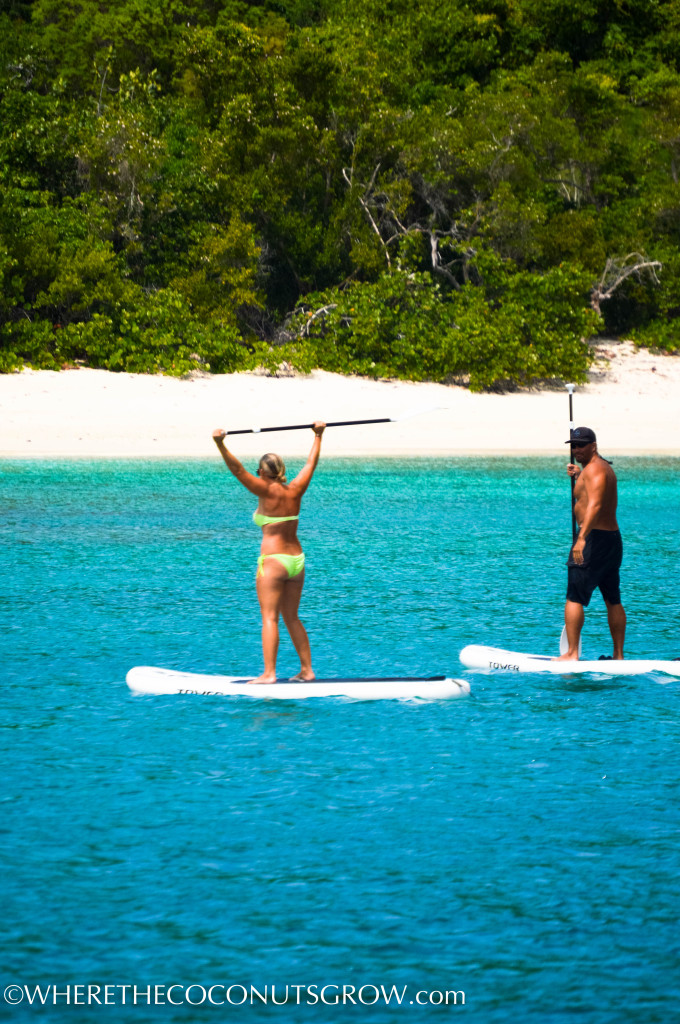
We paddle to secluded beaches…

WTCG-4WTCG-2WTCG-7WTCG-8

We race…

WTCG-9WTCG-10WTCG-12 WTCG-13 WTCG-14WTCG-11

We paddle to the best snorkeling spots…

WTCG-6

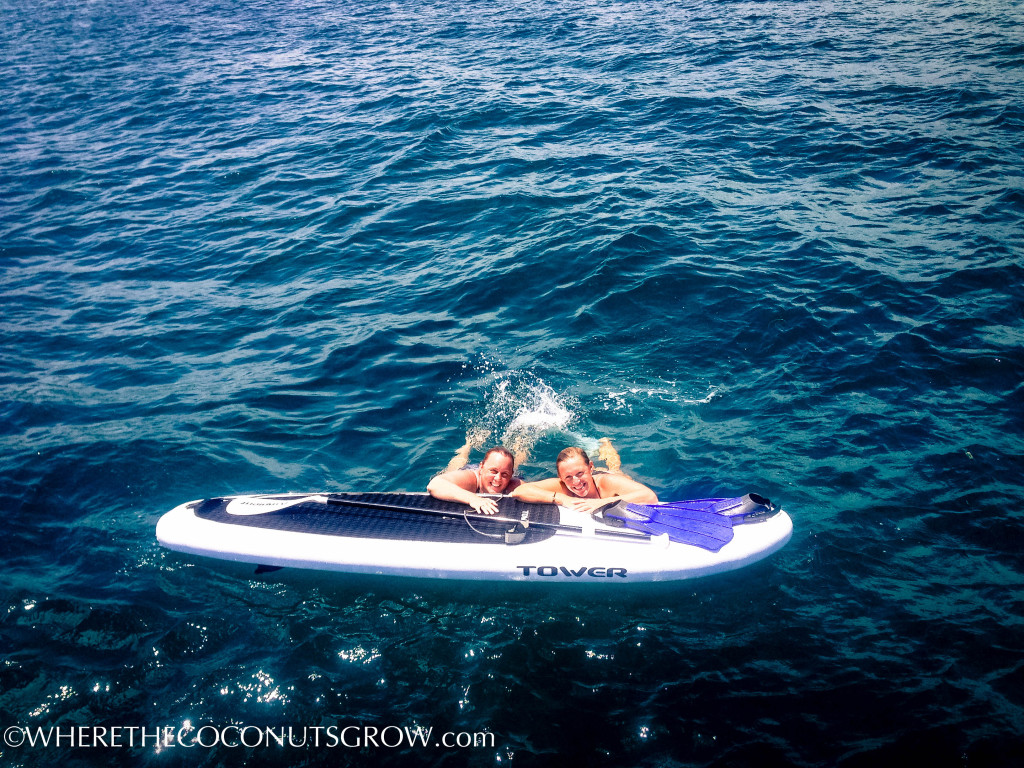
And we cool off…

WTCG-15WTCG-17WTCG-16

A special thanks to Mom for capturing some great photos of us playing on our Tower Paddle Boards!!

If you’re interested in further reading, our friend Carolyn has a couple great articles about SUP Paddle Maintenance and how to introduce your dog to SUPing!


IN CASE YOU WERE WONDERING…
We are PROUD to share these awesome products and services with our readers. There are so many different solutions out there for everything we could possibly need, but these are the solutions that work for us.

We gladly accept discounts or samples when a company feels generous enough to support our cause. In return we support the manufacturer or local service by sharing their links and writing about our experience with them. We only seek out sponsorship and affiliate programs from products and services we actually WANT to use and likewise only accept offers for products or services that we WILL use.

We are not paid for any reviews we write or feedback we provide. We simply like to spread the word and share great experiences we have had that could also bring joy to others.
**If you’re in the market for any of our favorite products, please consider using one of our Tower or Amazon Affiliate links!

New Electronics

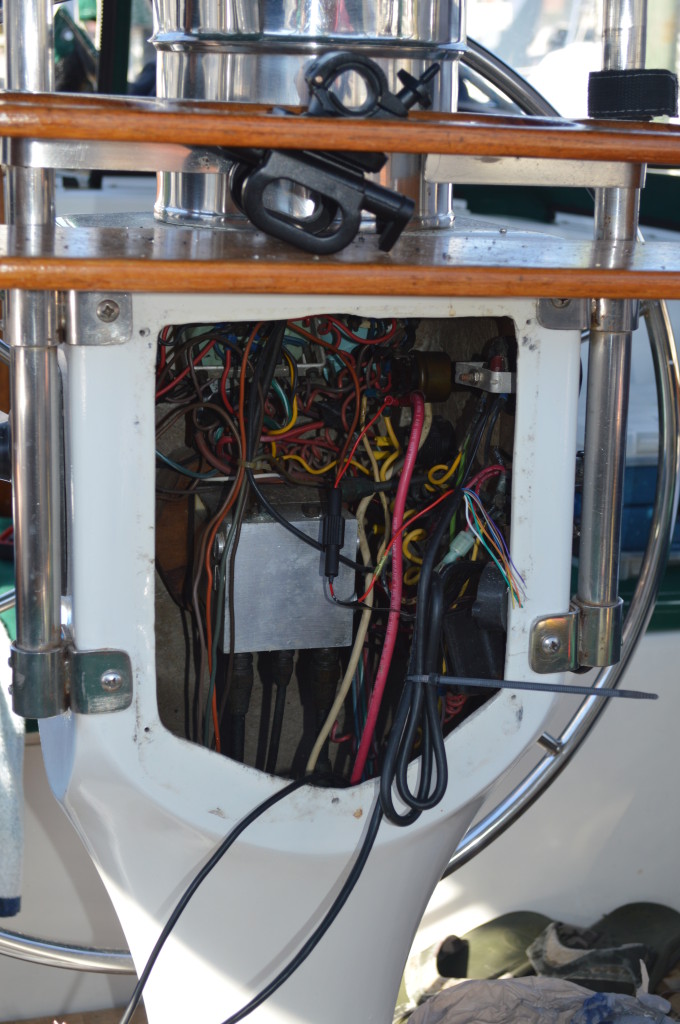
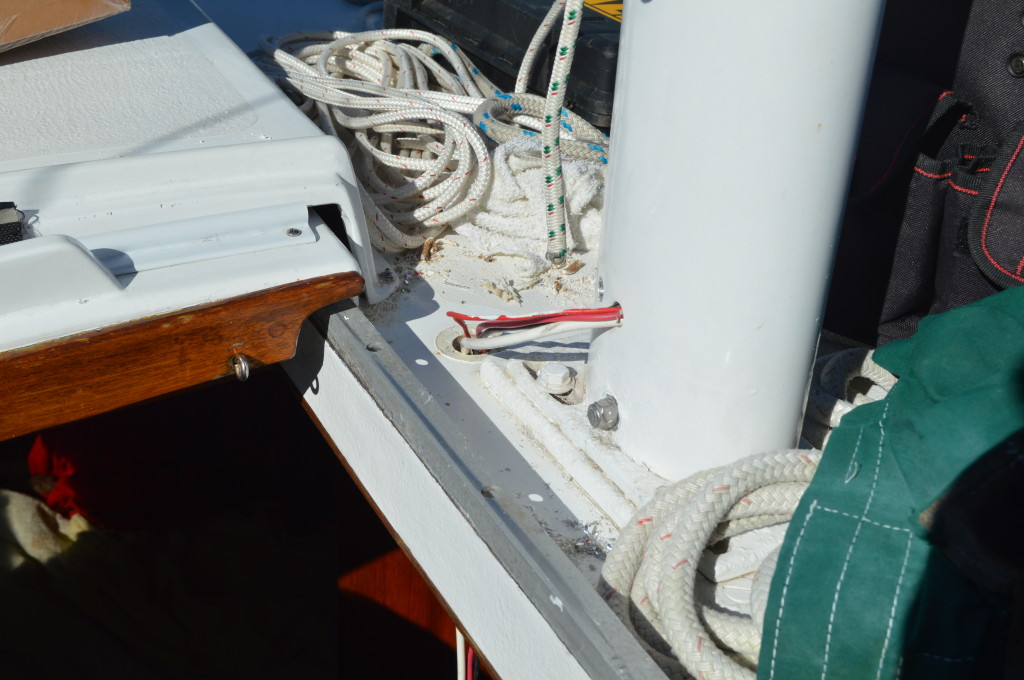
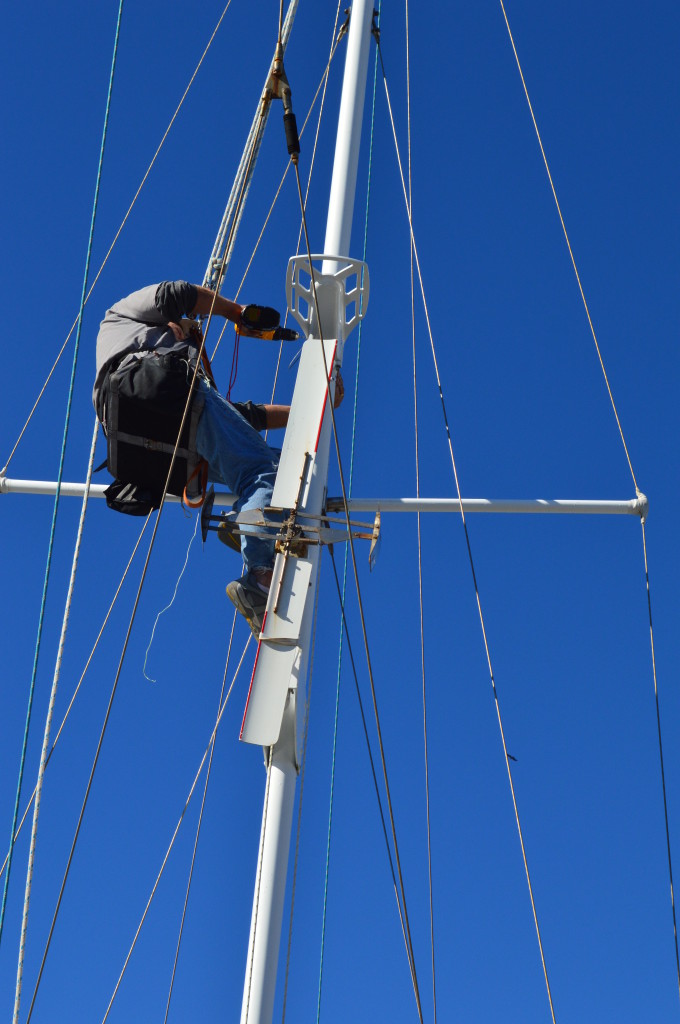
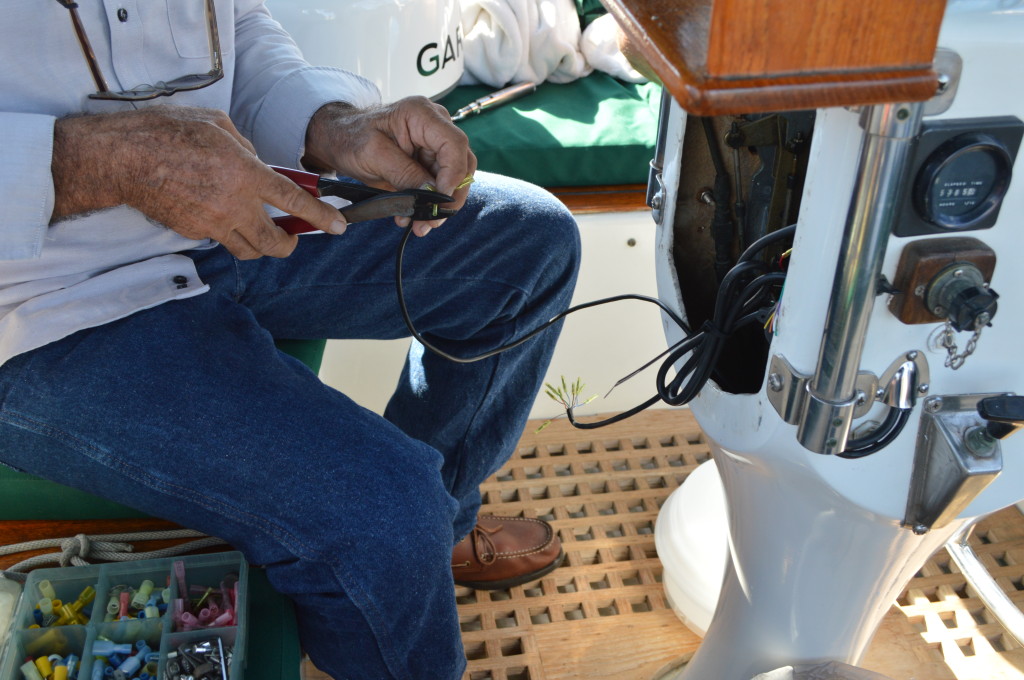
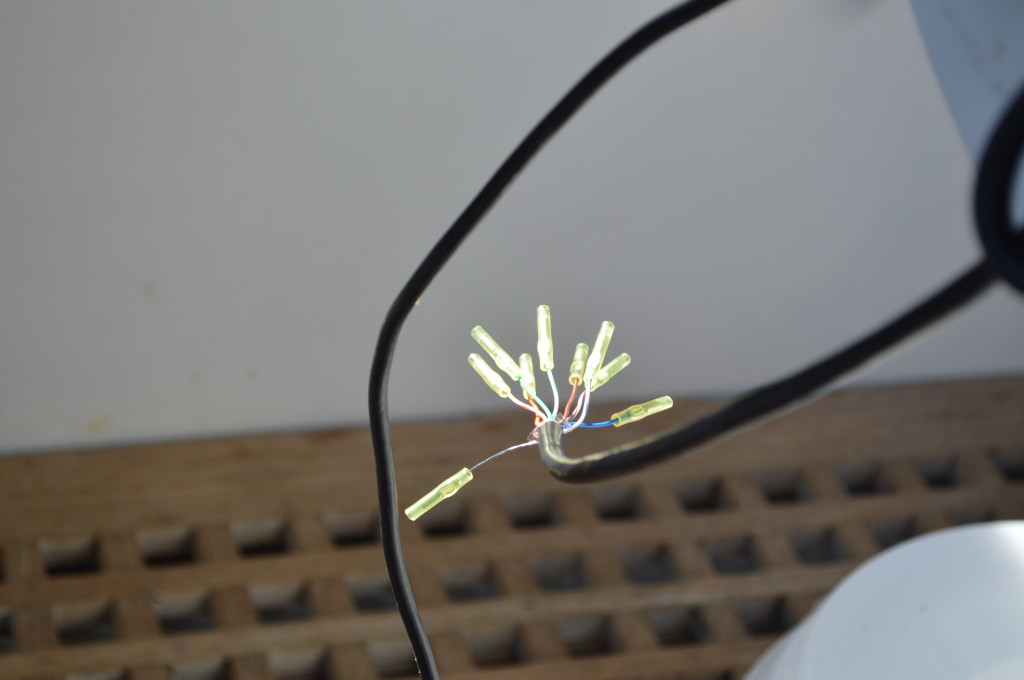
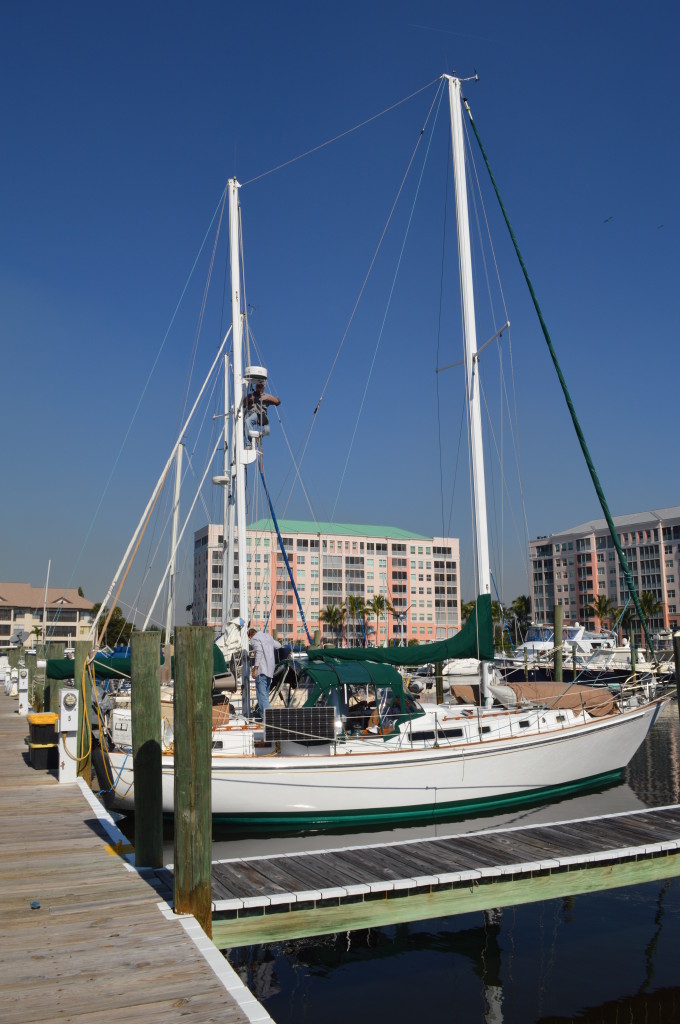
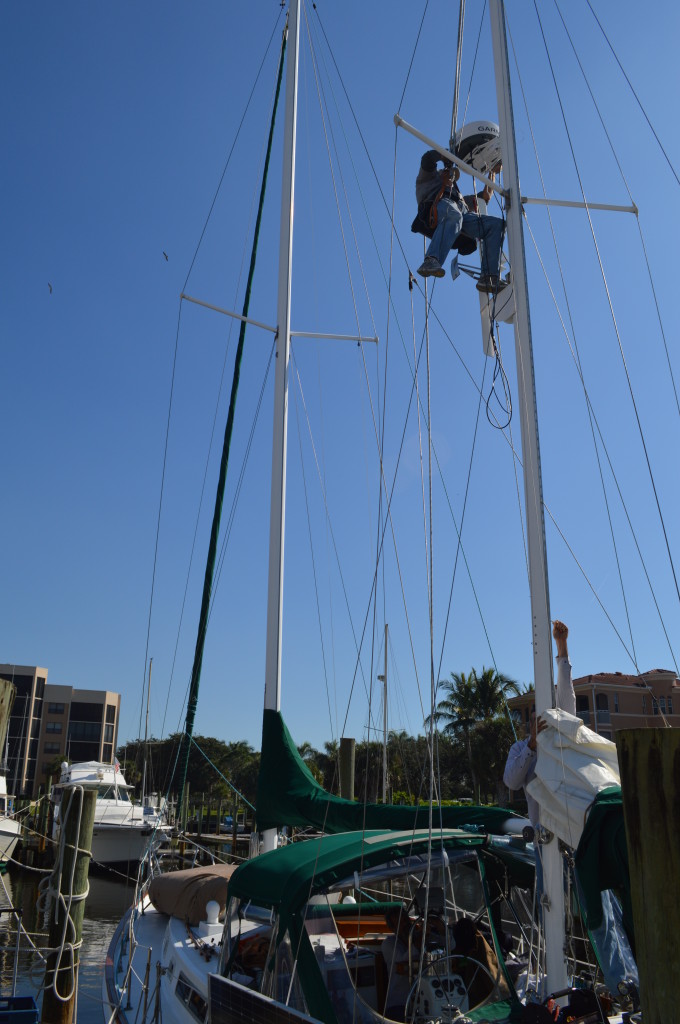
Here are a few pics from our install of our Garmin HD Radar before we left the dock. It was a priority to add the radar and upgrade the chart plotter and VHF radio as we outfitted the boat for our adventures. There was a screaming deal around Black Friday for a combo radar dome and Garmin 740S chart plotter so we took the deal!
DSC_0039

DSC_0042

DSC_0046

DSC_0048

DSC_0050


DSC_0054

DSC_0057

Boy are we glad we added this stuff!! We’ve sailed through the fog and overnight twice already and it sure is nice to be able to see other boats around us when visibility is poor.
We also opted for a new AIS capable VHF radio. Although we don’t transmit through the AIS, we can still see other vessels (especially large commercial ones) and get info about their speed and course.

The boat came with a Single Sideband radio (SSB), Pactor modem and automatic tuner. Its like a ham radio with limited email capability at sea :) We set up our ships station license and restricted radio operator license with the FCC. At the same time, they assigned us our MMSI number.

Although the cost adds up, it’s items like these that make us feel safe as we navigate into uncharted (for us) territories.

Here’s a little bit of the technical stuff we had to figure out along the way:

SSB, DSC, MMSI, FCC, FRN, VHF, ABCDEFG… WTF??

Who needs a ships station license?

http://wireless.fcc.gov/services/index.htm?job=licensing&id=ship_stations

You do not need a license to operate a marine VHF radio, radar, or EPIRBs aboard voluntary ships operating domestically. If you travel to a foreign port (e.g., Canada, Mexico, Bahamas, British Virgin Islands), a license is required. Additionally, if you travel to a foreign port, you are required to have an operator permit. (Everyone I’ve talked to says they have never been asked for their license info but we’d rather play it safe when it comes to this kind of stuff.)

Ships that use MF/HF single side-band radio, satellite communications, or
telegraphy must continue to be licensed by the FCC.

A Ship’s Station License is valid for a term of 10 years and costs $160. Here’s the breakdown:

Application Payment/Fee Type Code: PASM – $60.00 Fee

Regulatory Payment/Fee Type Code: PASR – $100.00

If you have a marine radio with Digital Selective Calling (DSC) capability, you must obtain a nine-digit maritime mobile service identity (MMSI) number and have it programmed into the
unit before you transmit. This is really important if you want to be able to use the distress button in the event of an emergency. I’ve also heard that if you plan to go off shore, make sure you get your MMSI number from the FCC not from BoatUS.

A Restricted Radiotelephone Operator Permit does not require a test, is valid for your lifetime and costs $60.

** Here are the steps we took:

First you must register with the FCC by creating a FCC Registration Number (FRN). The FCC online system is called the Universal Licensing System (ULS) and can be found here: http://wireless.fcc.gov/uls/index.htm?job=home

Click the first button to Register and follow the prompts.

After you have received your FRN, print the confirmation page or be sure to write down the FRN somewhere safe.

Return to the ULS home page http://wireless.fcc.gov/uls/index.htm?job=home and click the second button to Log In.

Select the first link on the left sidebar to Apply for a New License.

Select SA or SB-Ship

When you are done, apply for another new license and select RR for Restricted Operator.

For further information regarding the Restricted Radiotelephone Operator permit, visit http://wireless.fcc.gov/commoperators/index.htm?job=rr

The Rules that govern the Restricted Radiotelephone Operator Permits can be found under 47 CFR – Part 13 and are accessible at the following website:http://www.fcc.gov/encyclopedia/rules-regulations-title-47

If you have any further questions, or need additional information, submit a request through http://esupport.fcc.gov or call the
FCC Licensing Support Center at (877) 480-3201.